Invite teammates to your workspace
Invite teammates from Settings → Members. Each invitation gives access to the workspace you’re in. To give someone access to another workspace too, switch to that workspace and invite them there.
Before you start
- You need to be an Owner or Admin of the workspace.
- Have your teammate’s work email ready.
- Decide on a role: Admin or Member. See Roles and permissions. You can’t invite someone as an Owner. An account Owner can make them one later with Make owner.
Open the invite dialog
- Click Settings at the bottom of the sidebar.
- Click Members.
- Click Invite member.
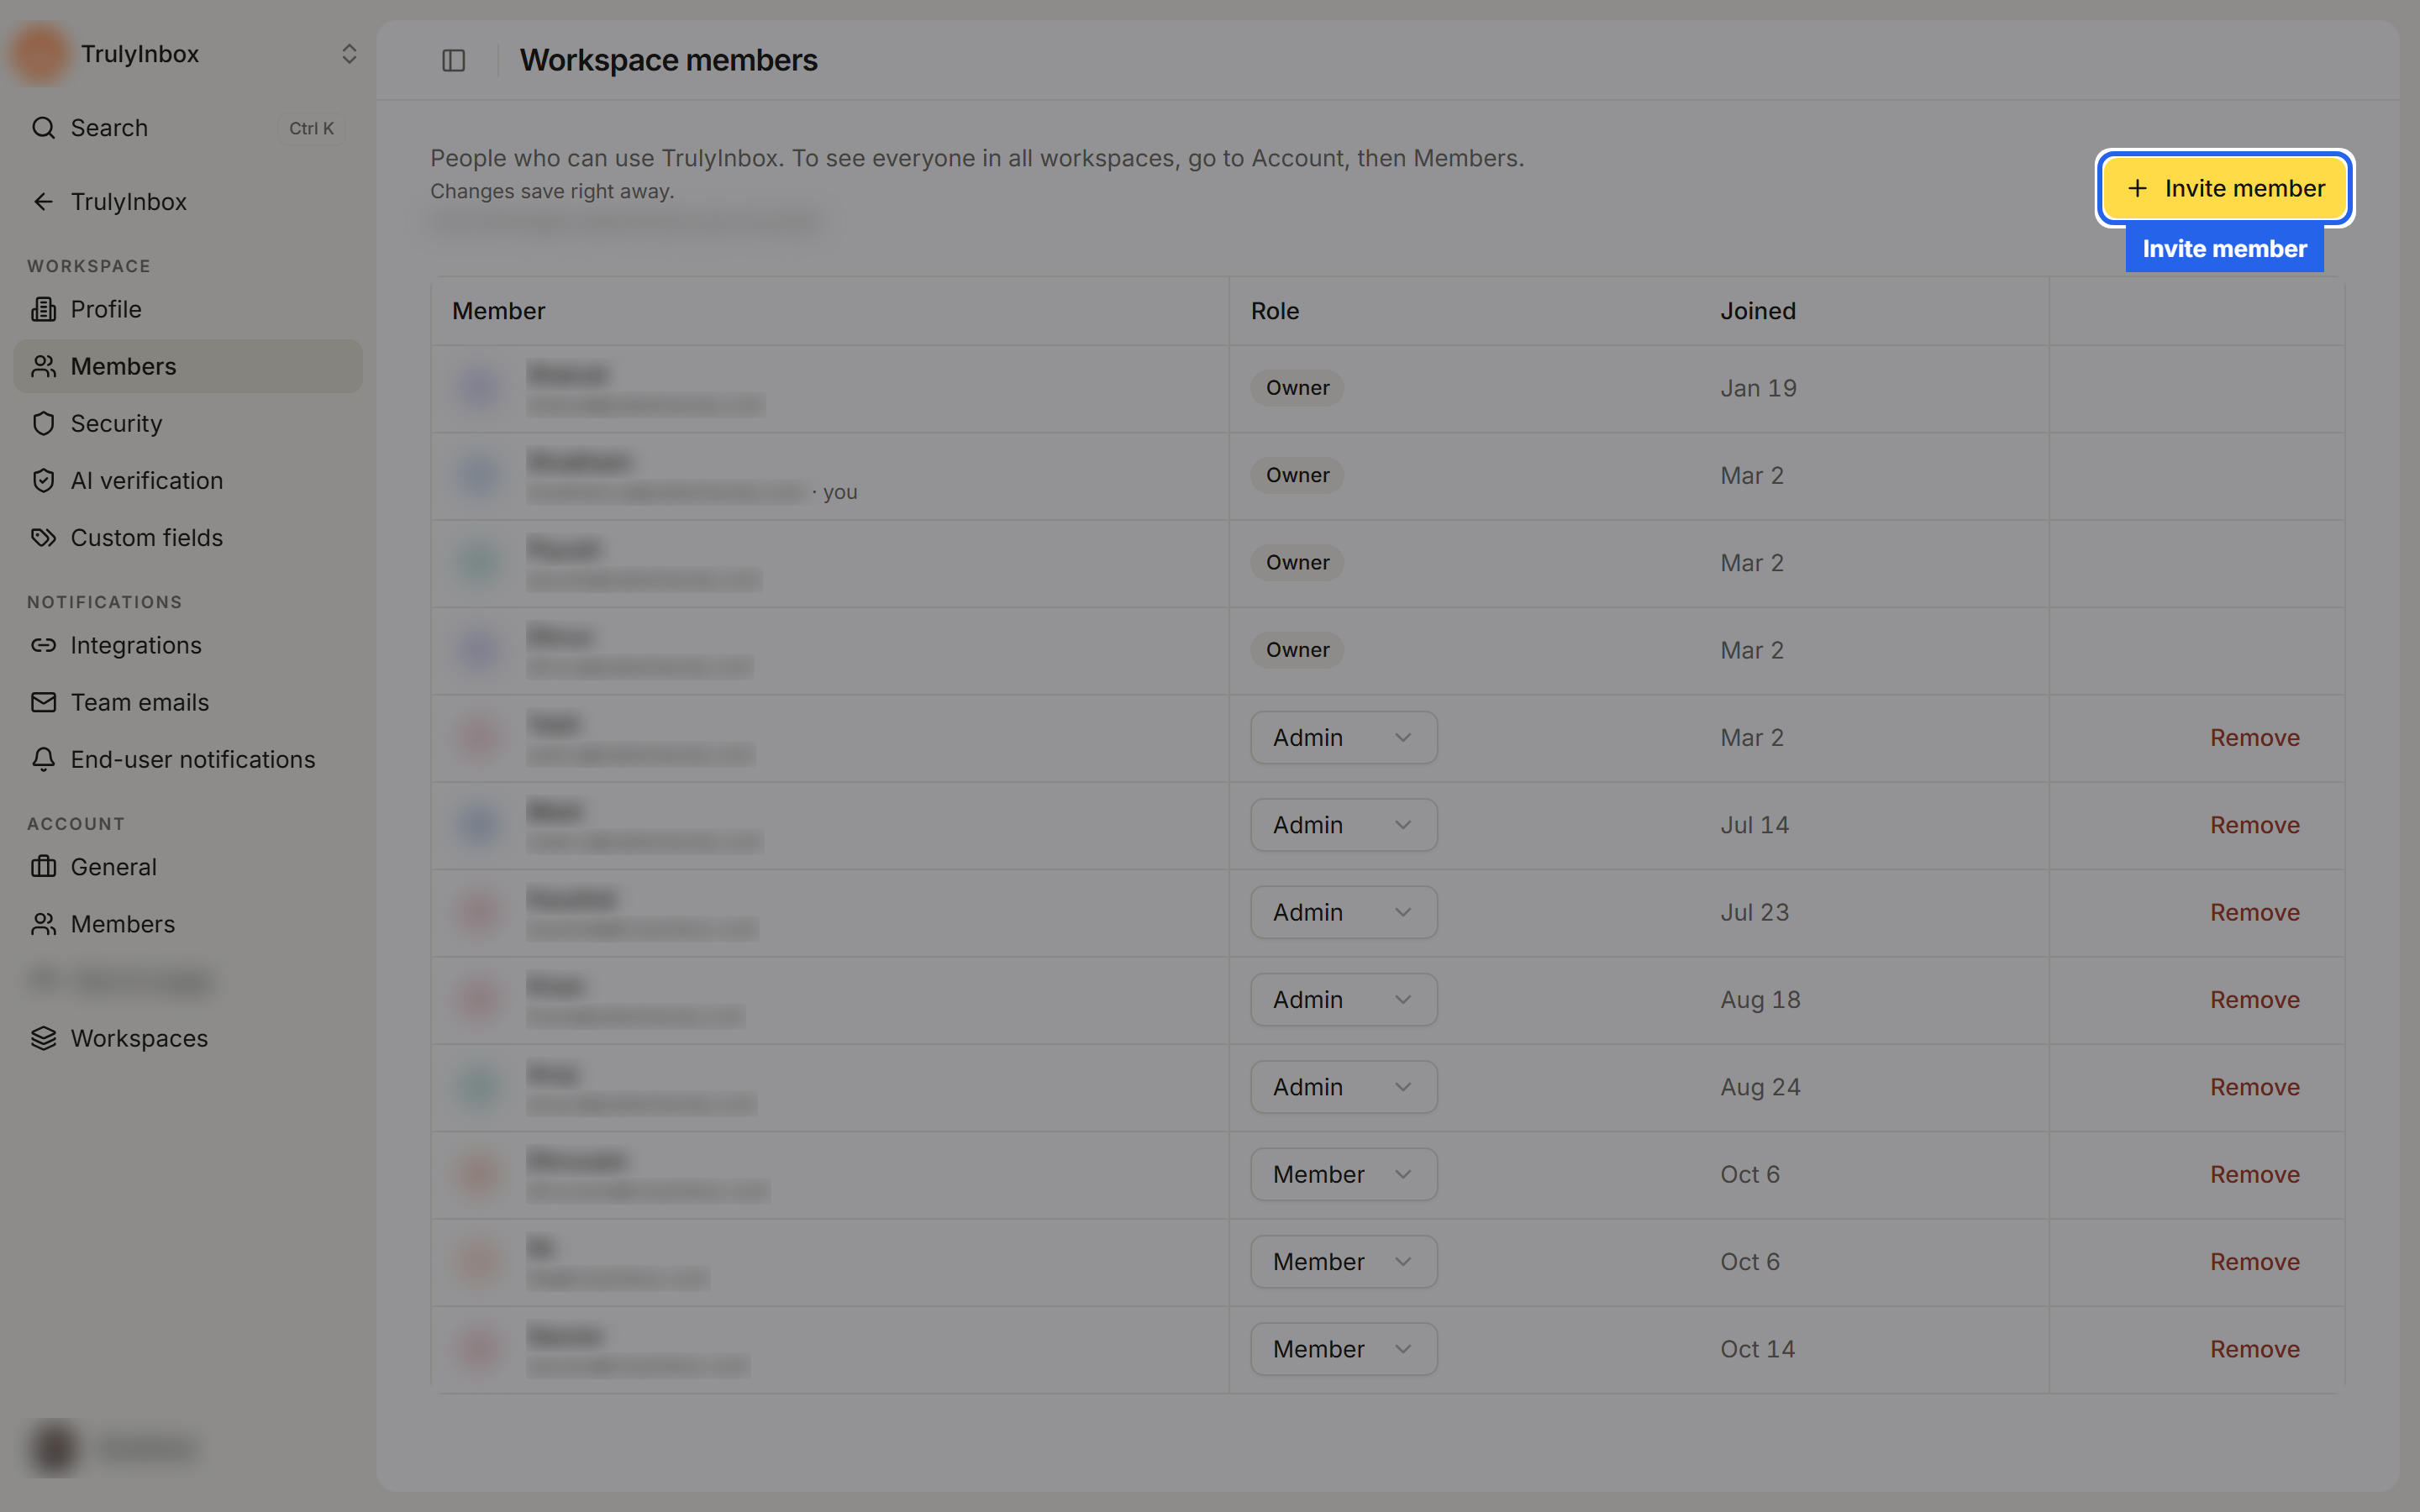
The Invite member dialog has two parts:
- From your account: people already in your account who aren’t in this workspace yet. Only account Owners see this list.
- Invite by email: anyone else.
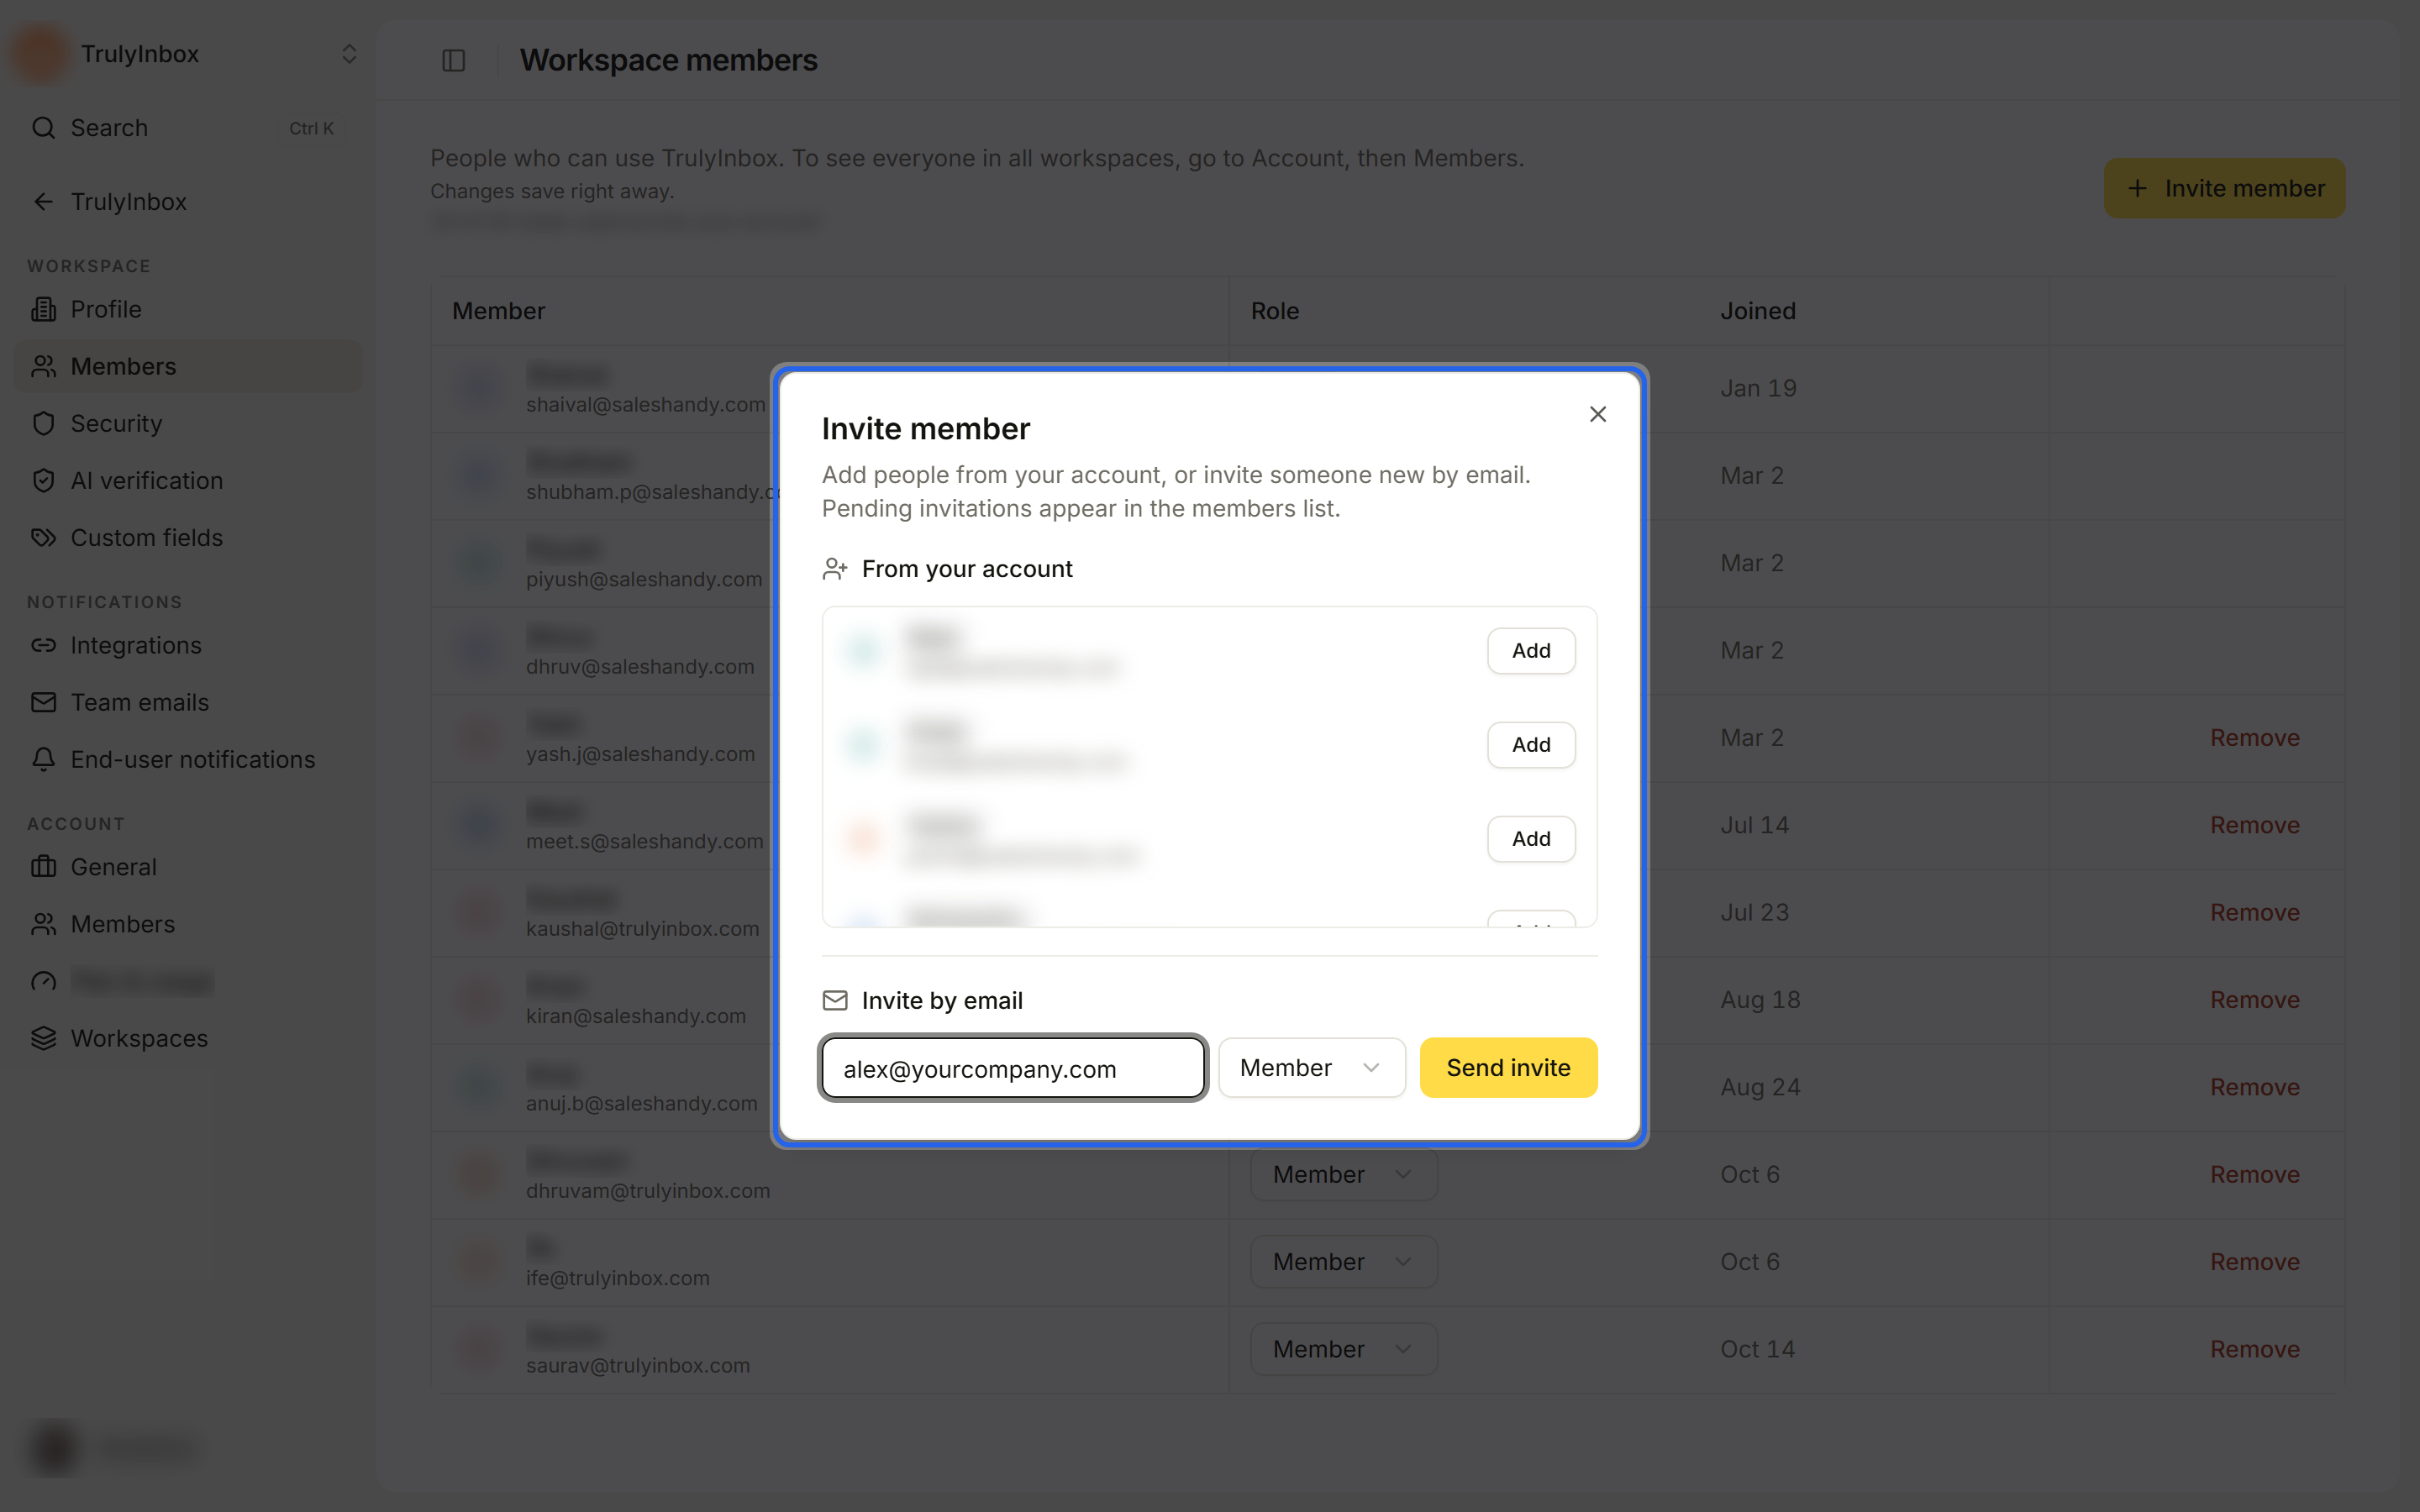
Add someone already in your account
Account Owners can skip the email step for people who already use HighAdvocacy in another of your workspaces.
- In From your account, find the person.
- Click Add.
They get access right away as a Member, and the row shows Added. To make them an Admin, change their role in the members table.
Invite someone by email
- Under Invite by email, type their email address.
- Pick Admin or Member. The default is Member.
- Click Send invite.
You’ll see “Invitation sent to {name}. It shows as Pending in your members list.” The invitation appears at the bottom of the members table with Pending, the date you sent it and when it expires.
If the email belongs to someone who’s already in your account, we add them straight away instead. You’ll see “{name} now has access to this workspace. We didn’t need to send an email.”
What your teammate sees
- They open the link in the invitation email.
- The Accept your invitation page shows the Account and Workspace they’re joining.
- They click Accept invitation.
They’re signed in and taken to the workspace’s Home. If the page says Sign in with the email address that got the invitation., they click Go to sign-in and sign in with that email.
If the invitation was already used or cancelled, the page says so and the button is turned off. If it can’t be found or has expired, they see Invitation not found and should ask you for a new one.
Resend or cancel a pending invitation
Pending invitations show in the members table with the role, a Pending badge, and “Invited {date} · expires {time}”.
- Resend: click Resend. Right after you send or resend, the button shows Resend in with a countdown. Wait until it reads Resend again.
- Cancel: click the X on the row. You’ll see Invitation cancelled.
Expired invitations drop off the list. To invite that person again, send a new invitation.
If the invitation isn’t sent
- Enter a valid email address. Check the email for typos.
- Invitation to {name} wasn’t sent: the message explains why, and nothing was added to your members list. Fix the problem and click Retry.