Manage account members and owners
Account → Members lists everyone in your organization, in all workspaces. Use it to add or remove Owners, or to remove someone from every workspace at once. Only Owners can open it.
To invite someone to one workspace or change their Admin or Member role there, use Settings → Members in that workspace instead. See Invite teammates.
Open Account members
- Click Settings at the bottom of the sidebar.
- Click Members under Account.
The table shows each person’s Name, Email and Workspaces. Owners show All (owner), because they can open every workspace. Everyone else shows the workspaces they belong to.
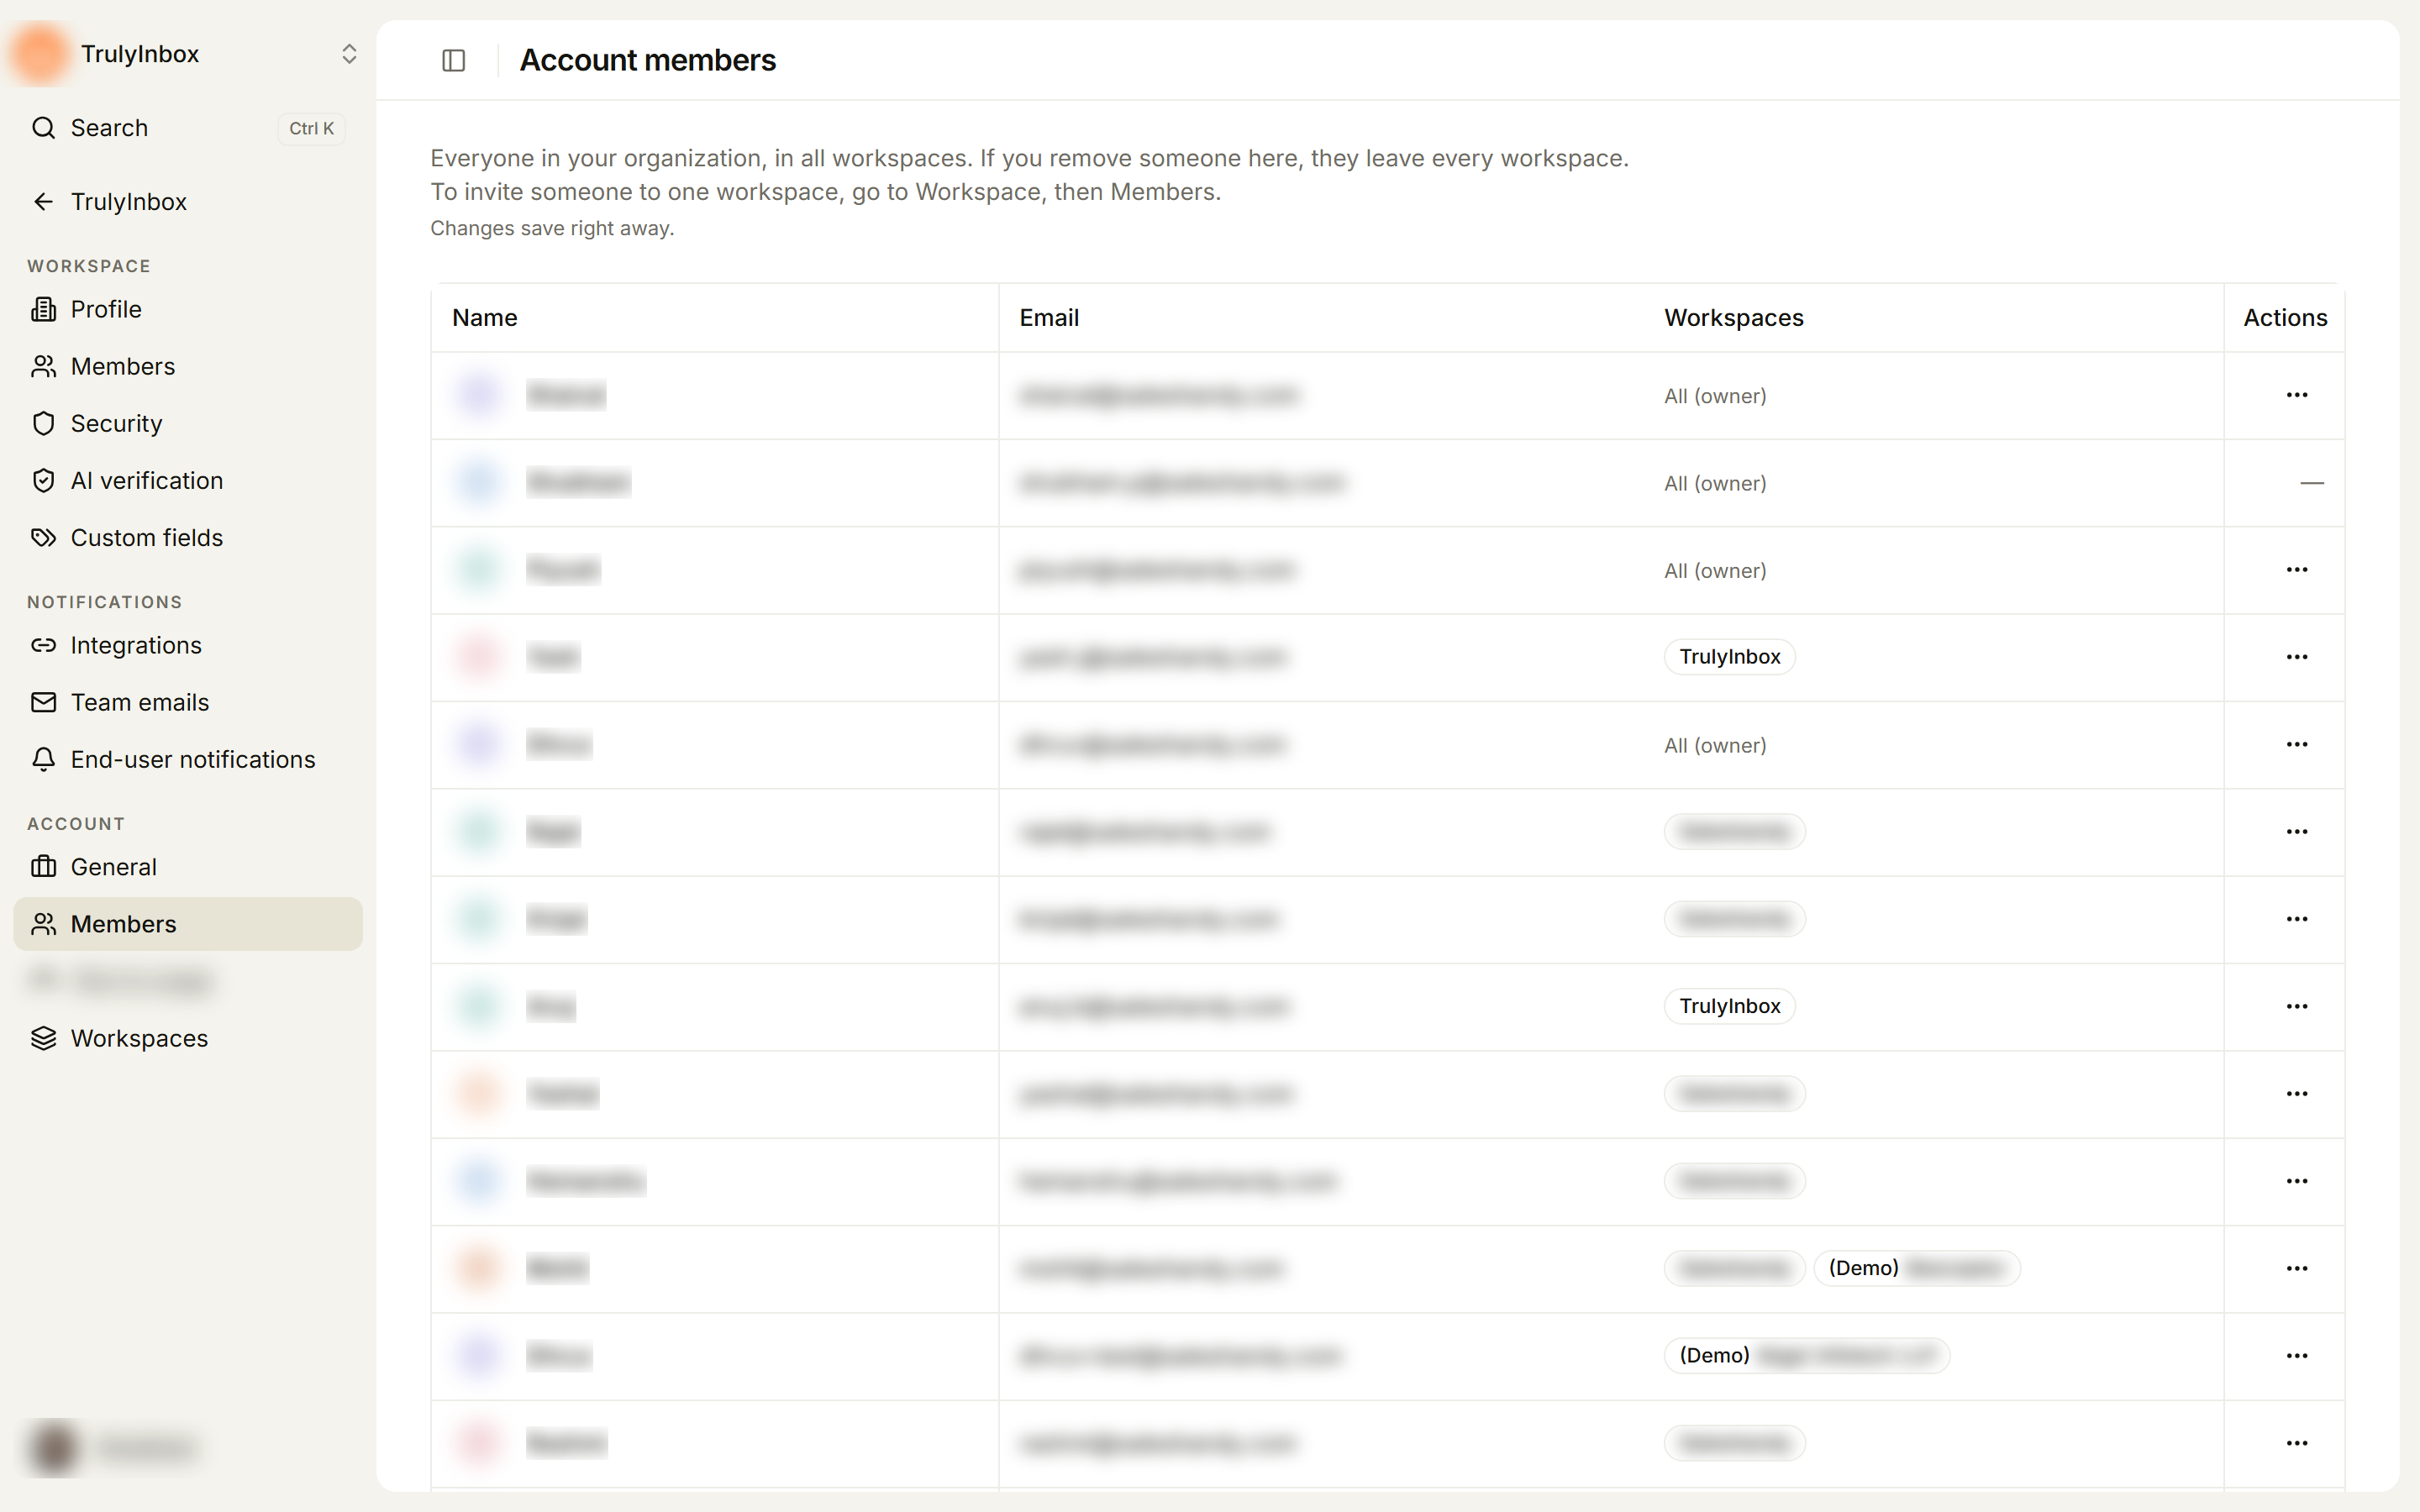
Pending requests to join a workspace also show here with a Pending request badge. See Requests to join.
Make someone an Owner
An account can have several Owners. Owners get access to every workspace and every account setting.
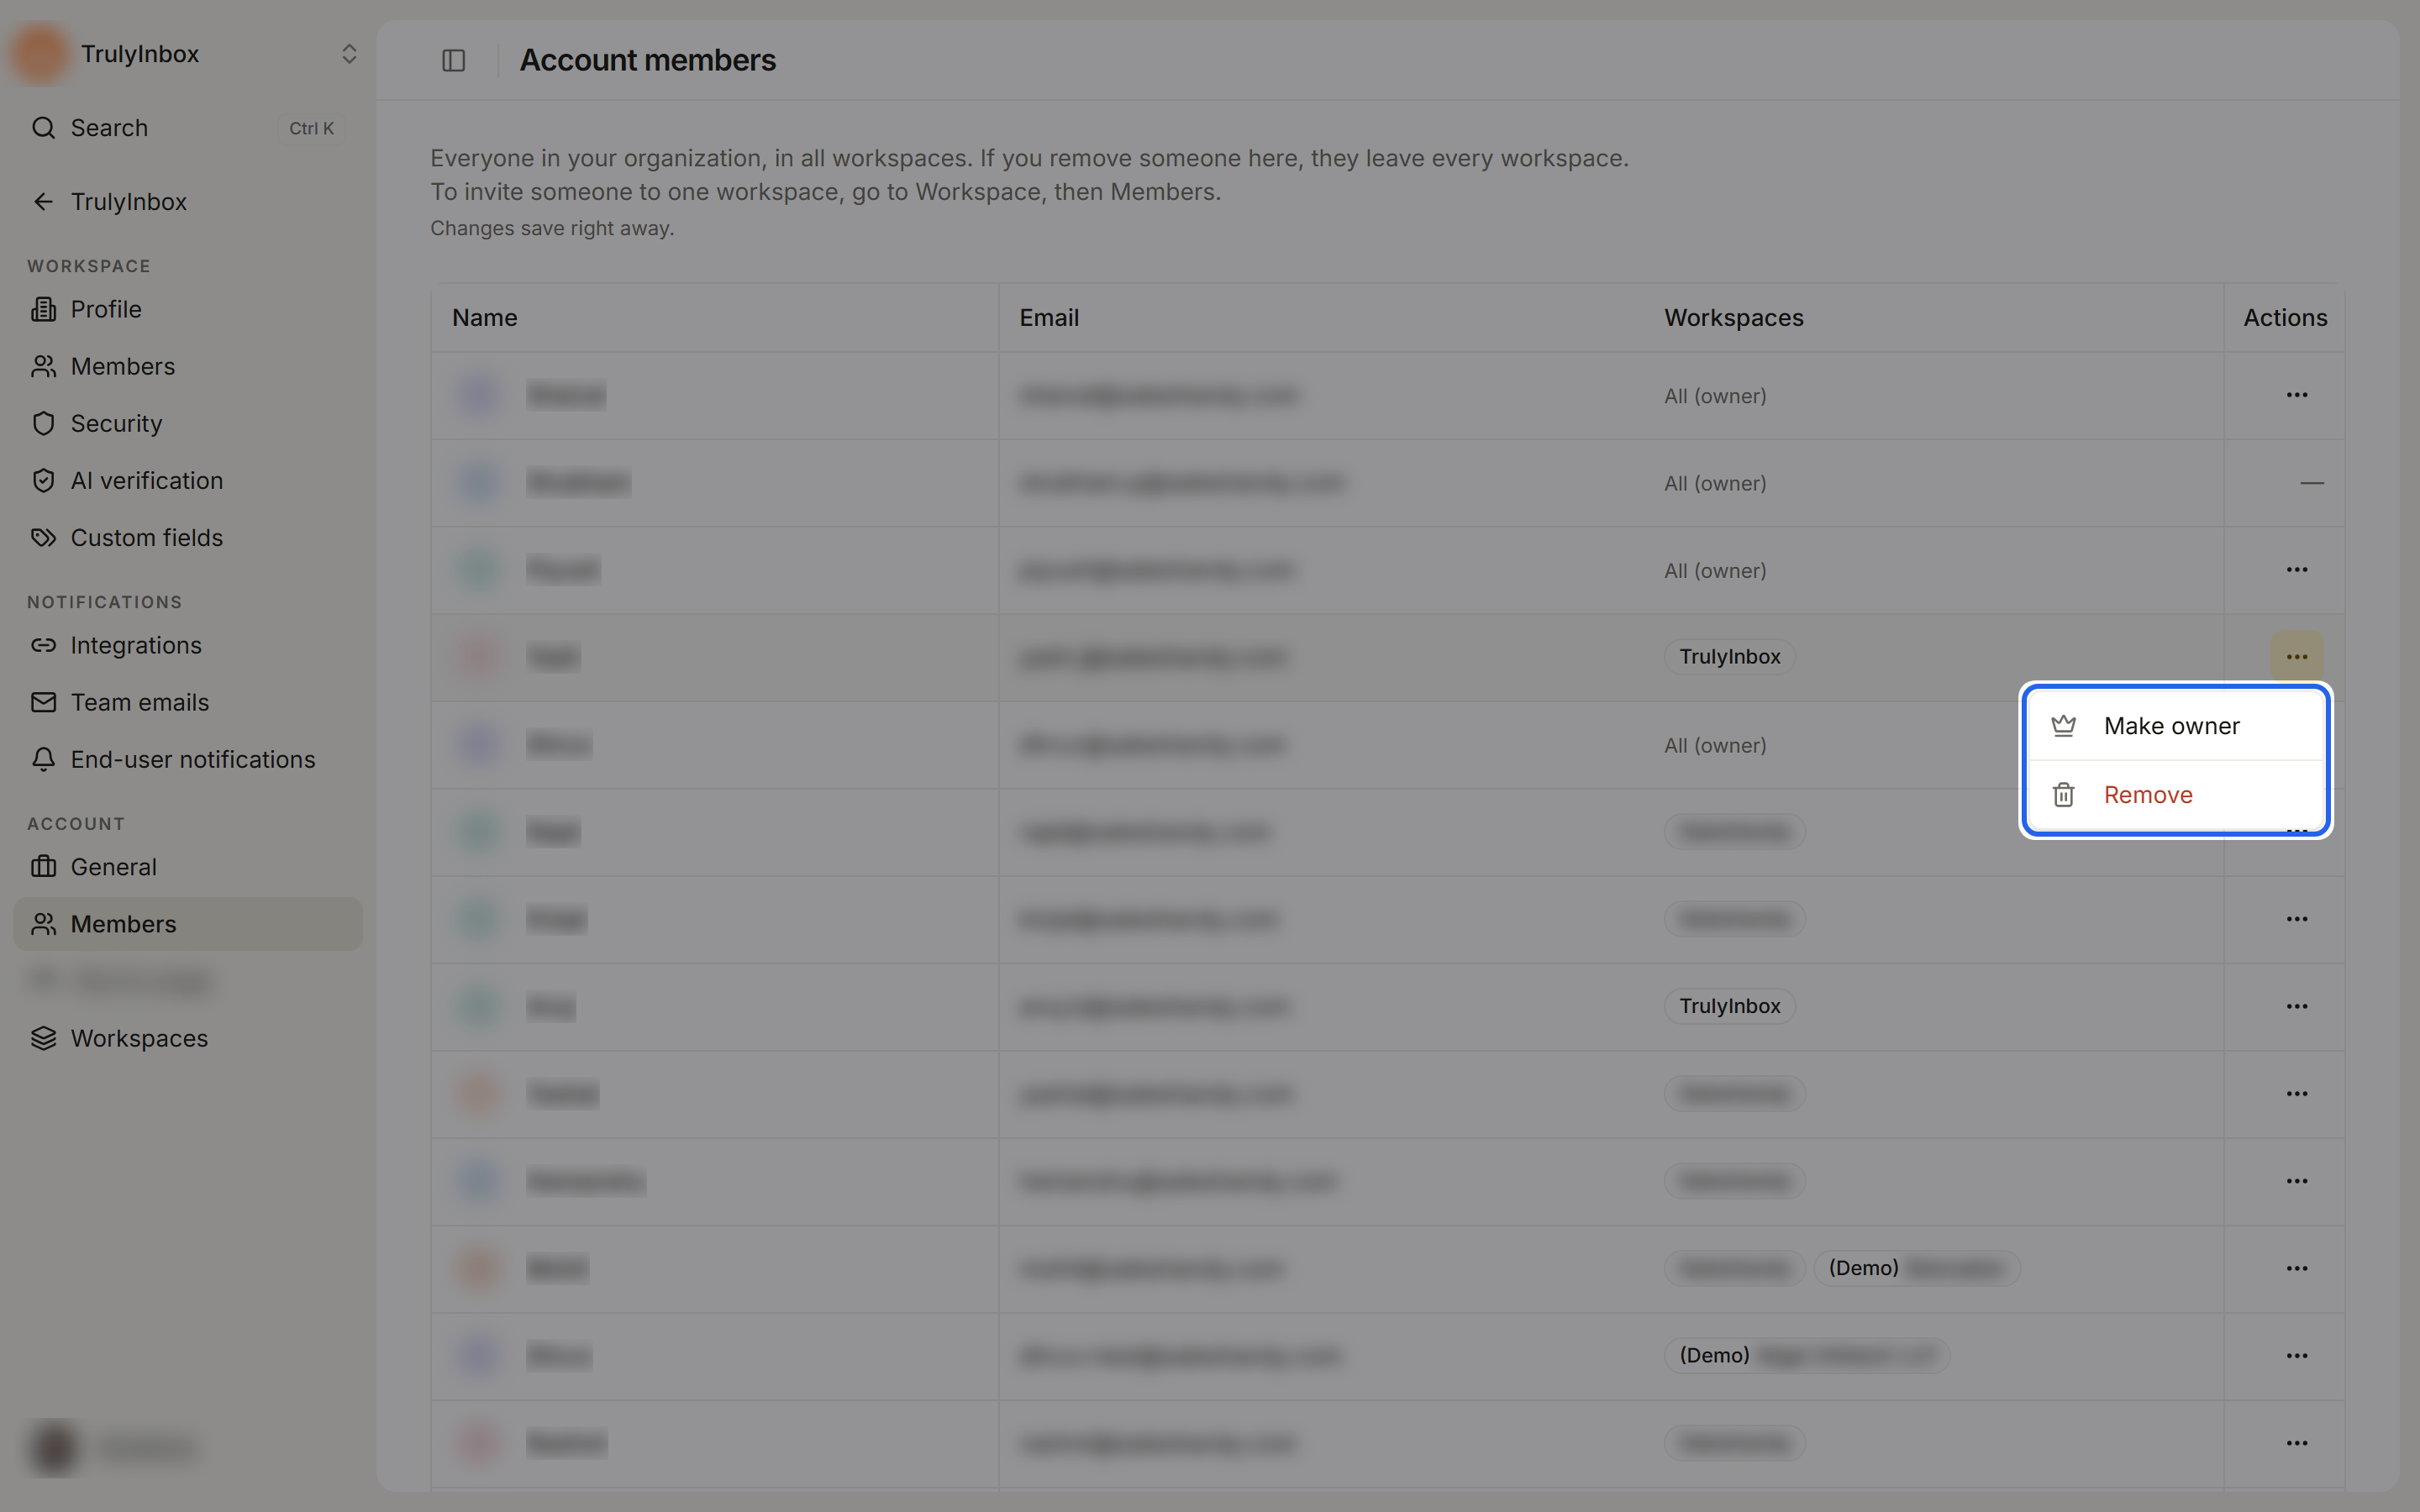
- Click the ⋯ menu in the person’s row.
- Click Make owner.
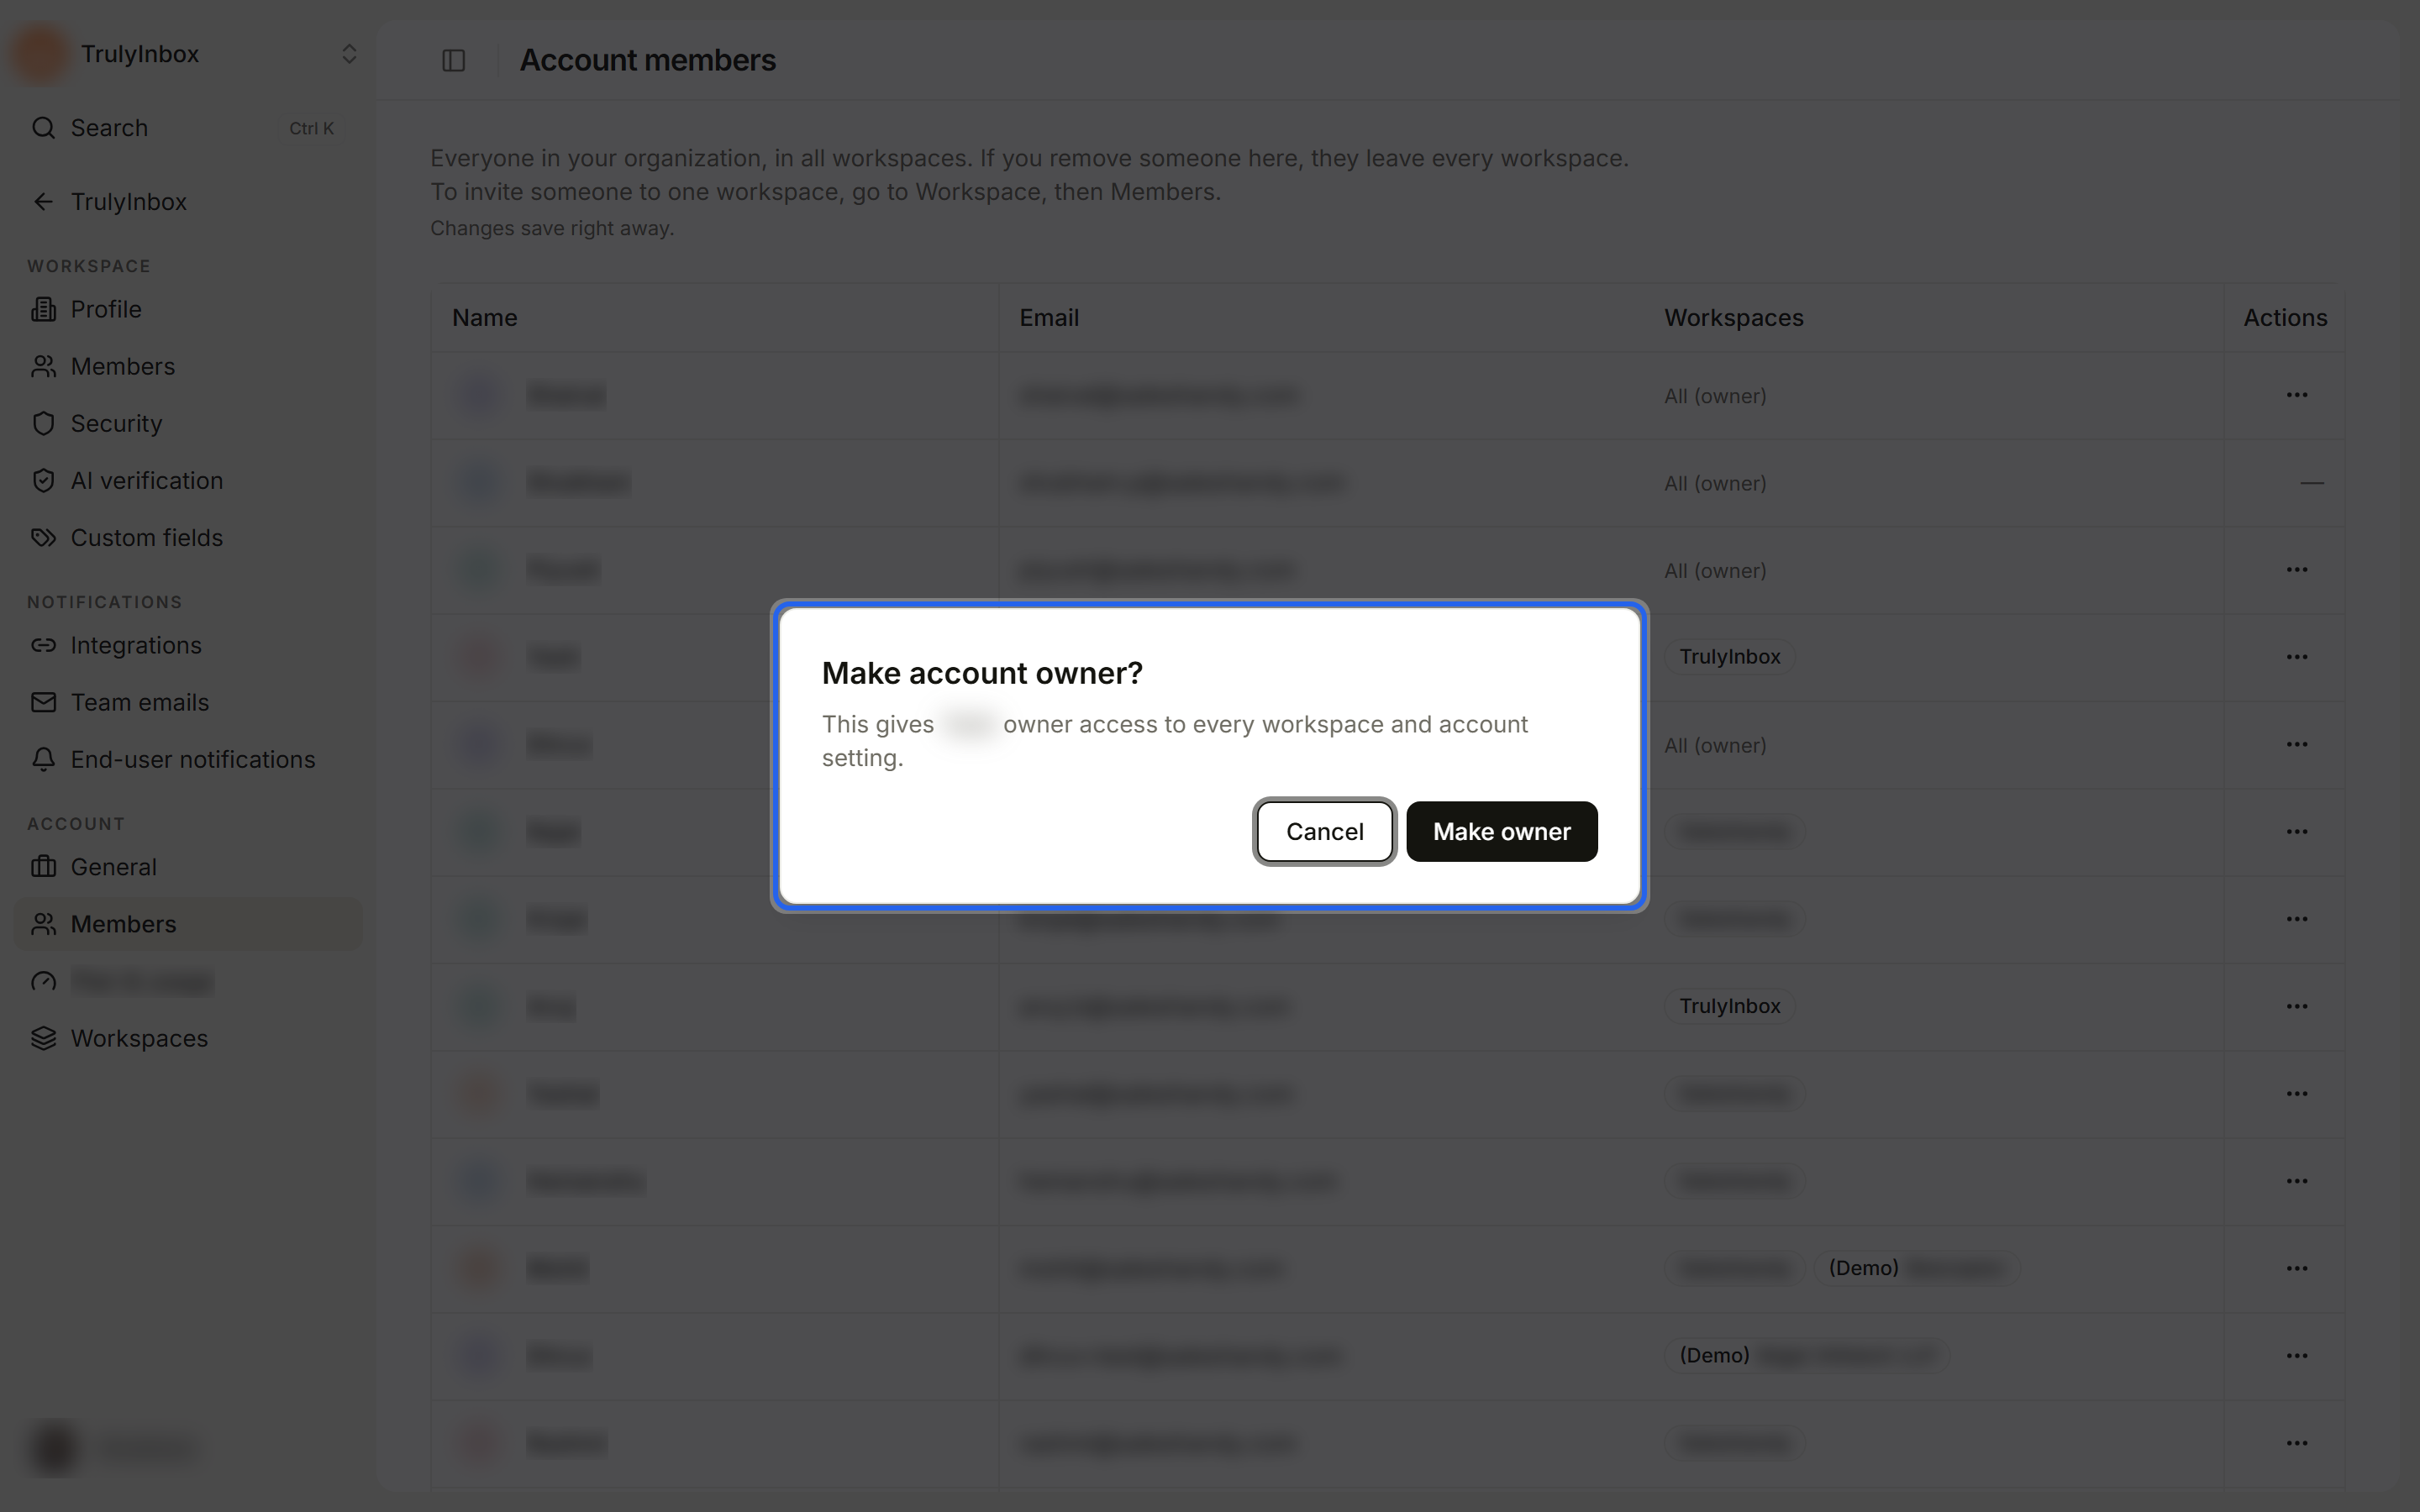
- Click Make owner in the Make account owner? dialog.
You’ll see Owner role changed. The person must already be in the account. To add someone new, invite them to a workspace first.
Demote an Owner
- Click the ⋯ menu in the Owner’s row.
- Click Demote owner.
- Click Demote owner in the Demote account owner? dialog.
They lose owner access and become an Admin in every active workspace.
The account always needs at least one Owner, so Demote owner is turned off for the last Owner. You can’t change your own owner role. Ask another Owner.
Remove someone from the account
Removing someone here takes them out of every workspace in the account.
- Click the ⋯ menu in the person’s row.
- Click Remove.
- Click Remove user in the Remove user from account? dialog.
You’ll see User removed. You can’t undo this. To work with them again, invite them again.
- You can remove an Owner directly, as long as at least one other active Owner remains.
- You can’t remove yourself.
To take someone out of one workspace only, use Settings → Members in that workspace. See Roles and permissions.