What customers see when they open your campaign
This page walks through your campaign from the customer’s side, so you know what they see before you send the link. It covers the hosted page (the link you share) and, at the end, the widget.
To see it yourself, open the campaign, click Preview & share, and switch between Webpage and Widget and between Mobile and Desktop. Clicking through the preview never creates a submission. To test with a real submission, open the live link with Copy link on the campaign page.
1. Choose an option
The page opens with your logo, your headline and subtext, and every ask in the campaign as one option. The header reads “N ways to help”, and a small Choose / Share / Claim trail shows where the customer is.
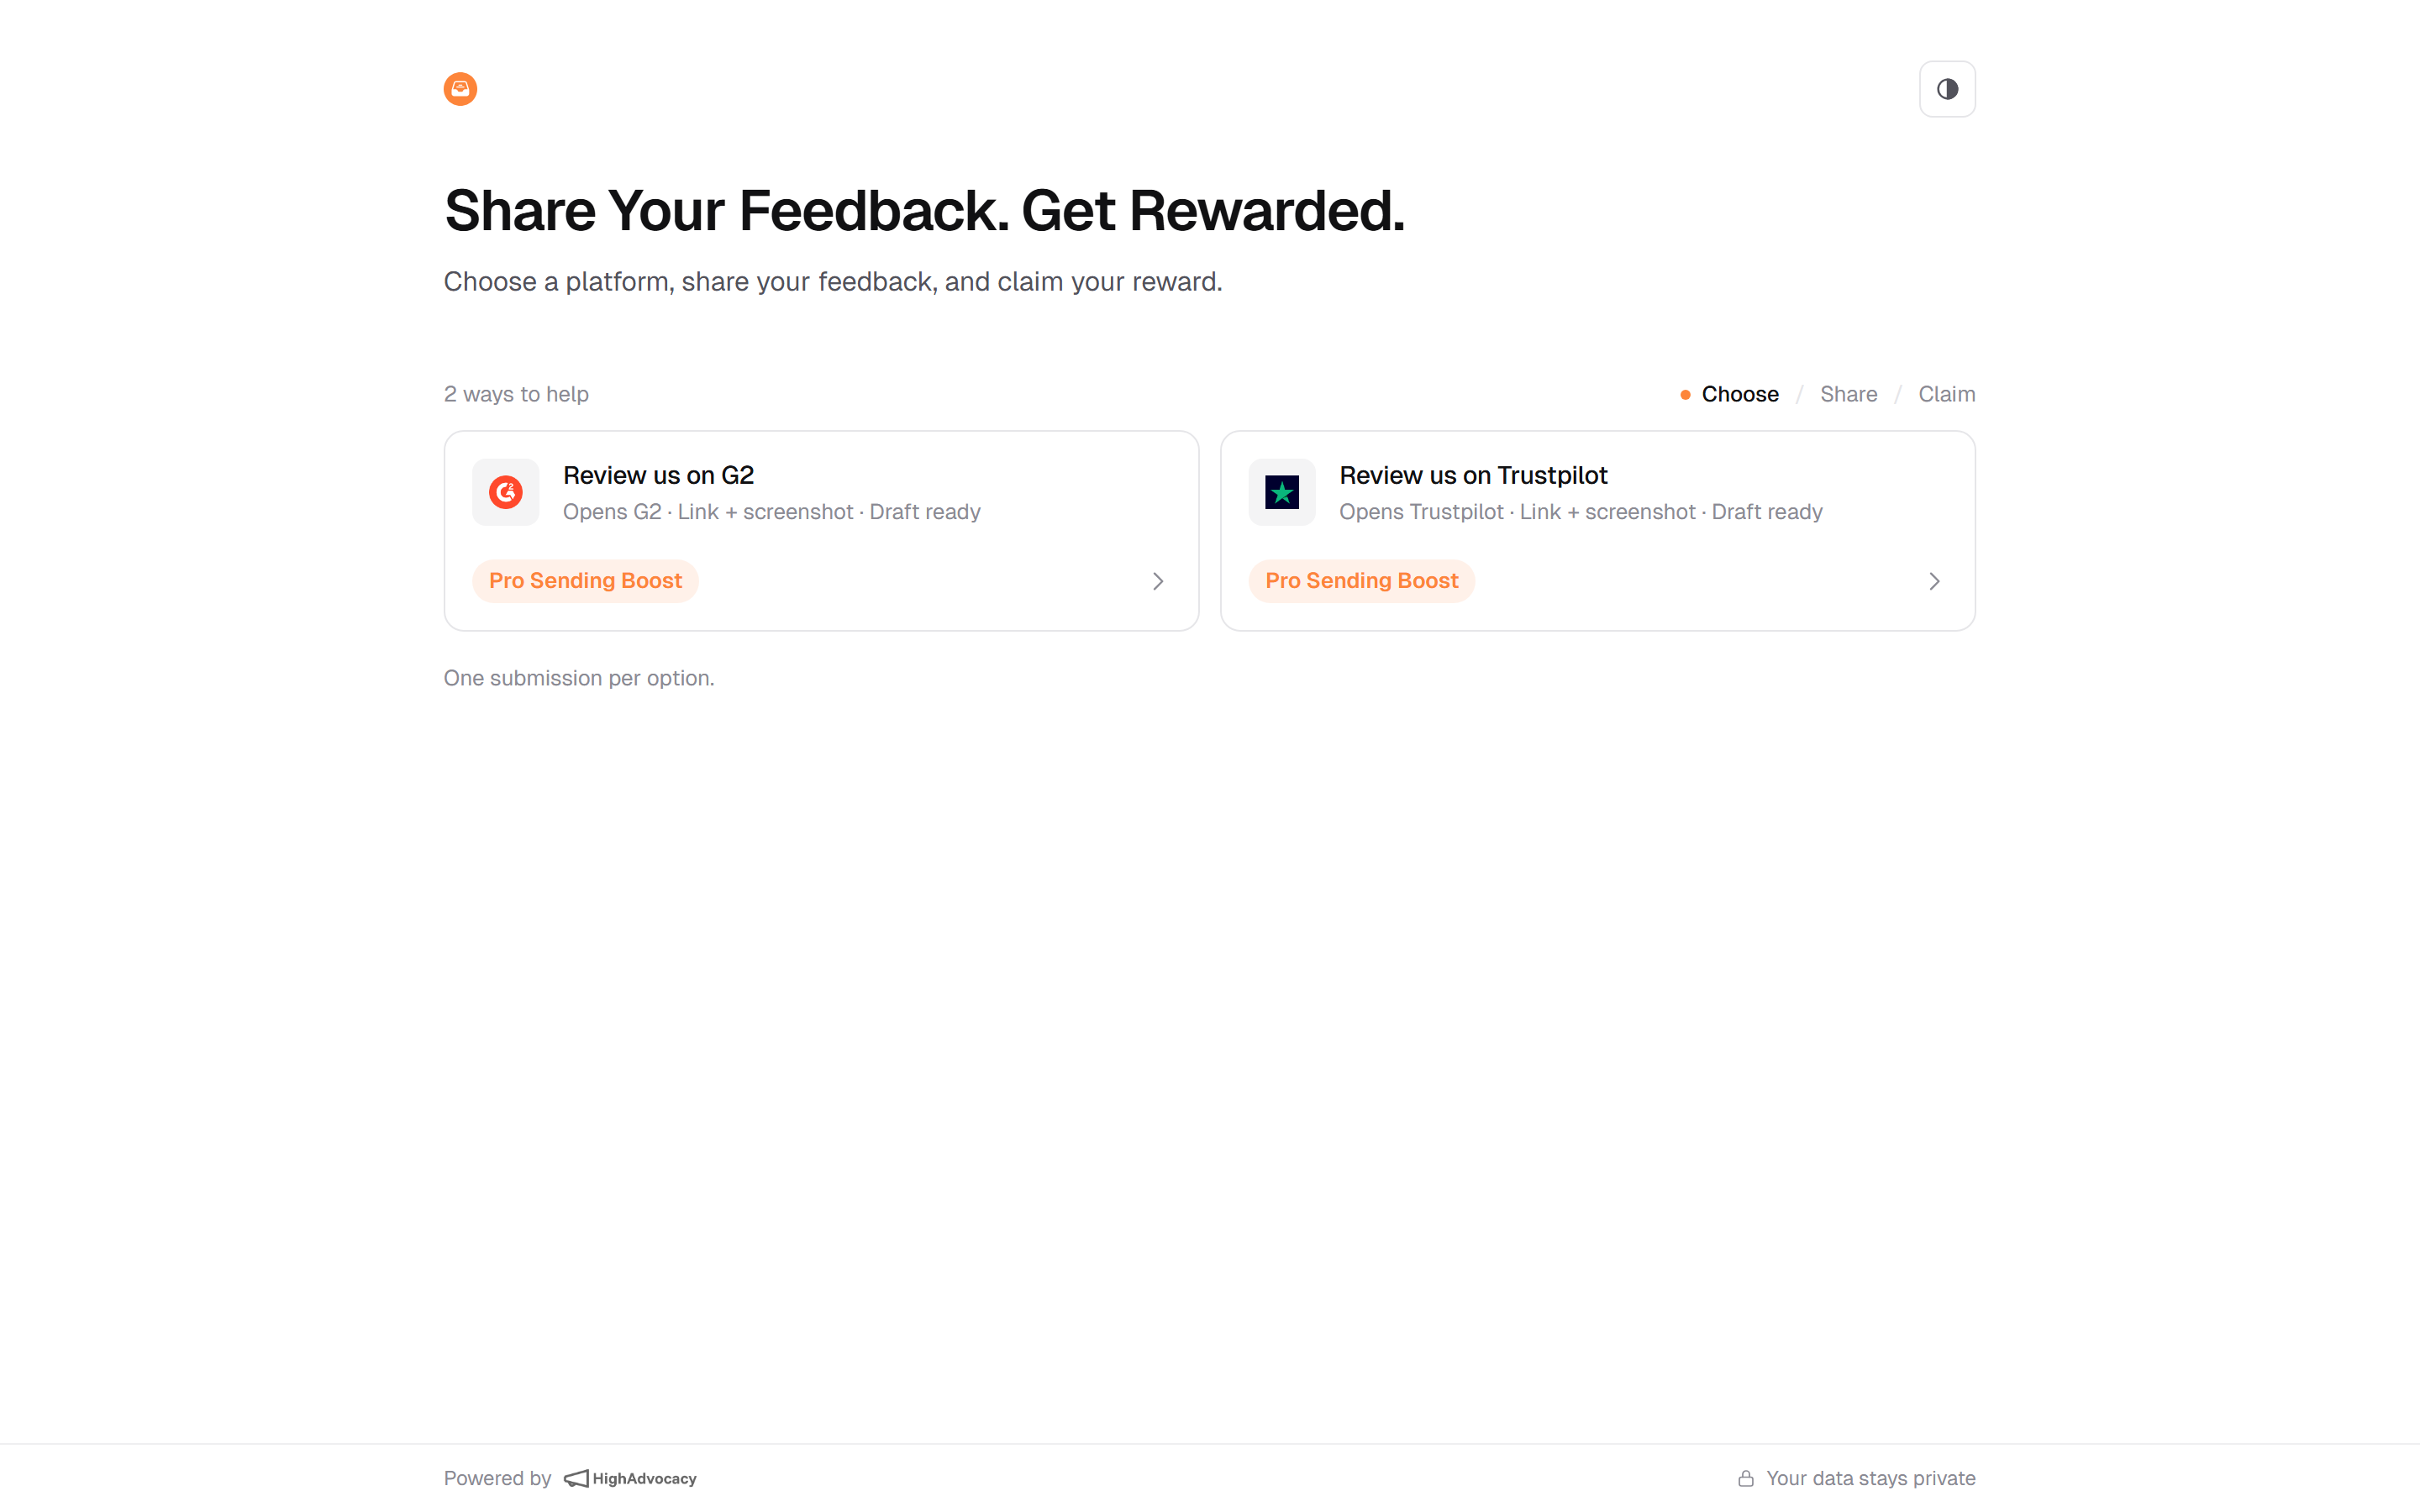
Each option shows:
- Its title, for example “Review us on G2” or “Record a video”.
- A short line about the task, for example “Opens G2 · Link + screenshot · Draft ready” or “On this page · Up to {length}”. “Opens G2” means the task happens on that site in a new tab. “On this page” means the customer does it right here. “Draft ready” means writing help is available.
- The reward, as a pill with the reward name. Asks with no reward show “Our thanks”.
Under the list, “One submission per option.” reminds customers they can do each option once.
The page works on phones too. Options stack, and the screenshot fields switch to “Choose a screenshot” from the phone’s photos.
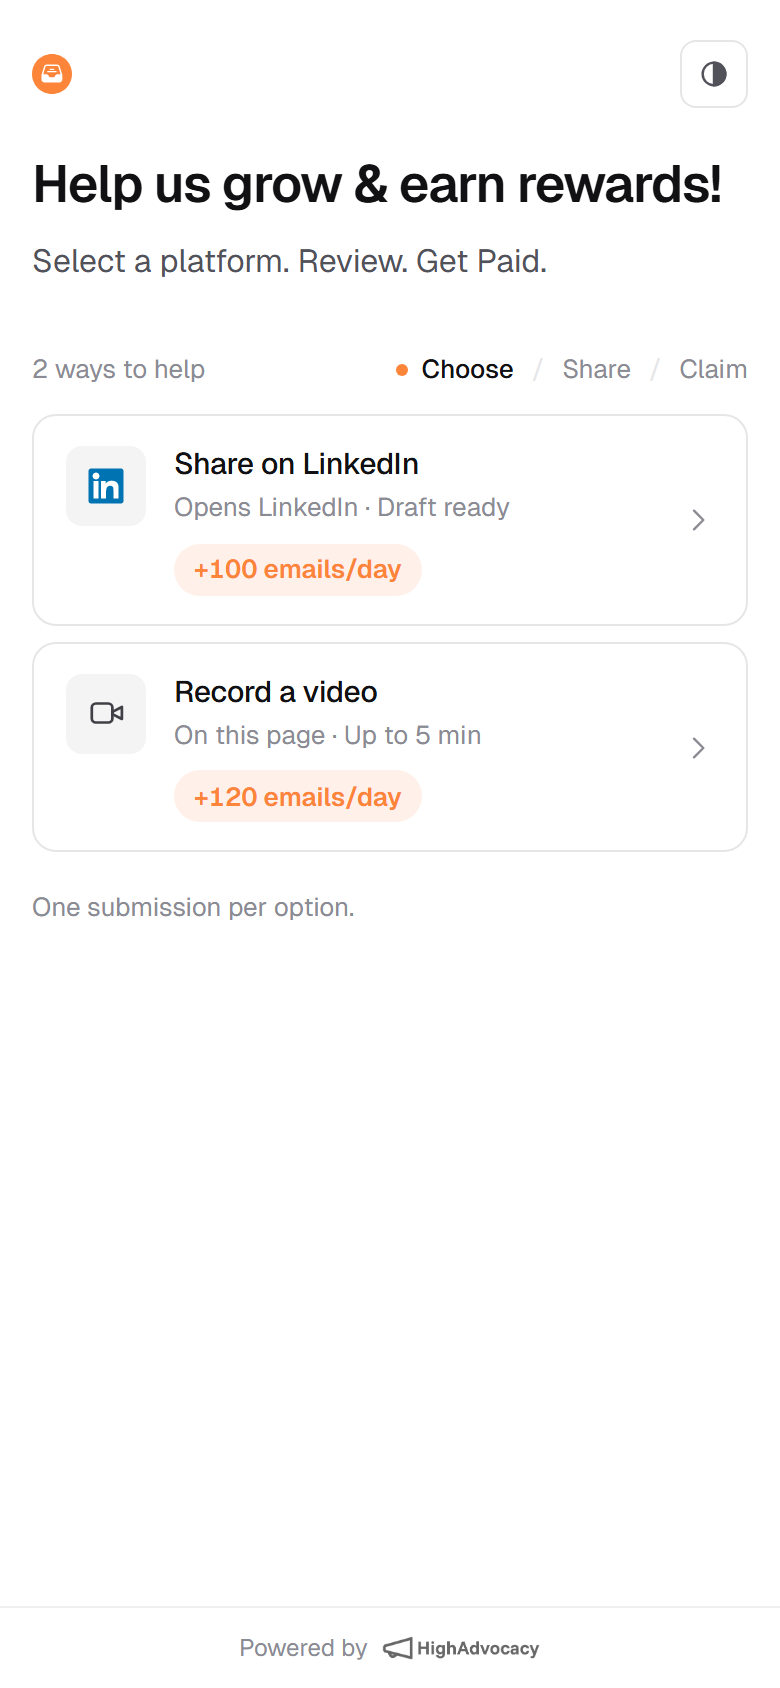
If the campaign has only one ask, the customer skips the list. They land on that ask with a “You get” line for the reward, a “How it works” list, and one button such as Review on G2 or Record a video.
2. Do the task
Clicking an option opens its task. All options (or Back on a single-ask campaign) returns to the list. What the task looks like depends on the ask.
Reviews and social posts
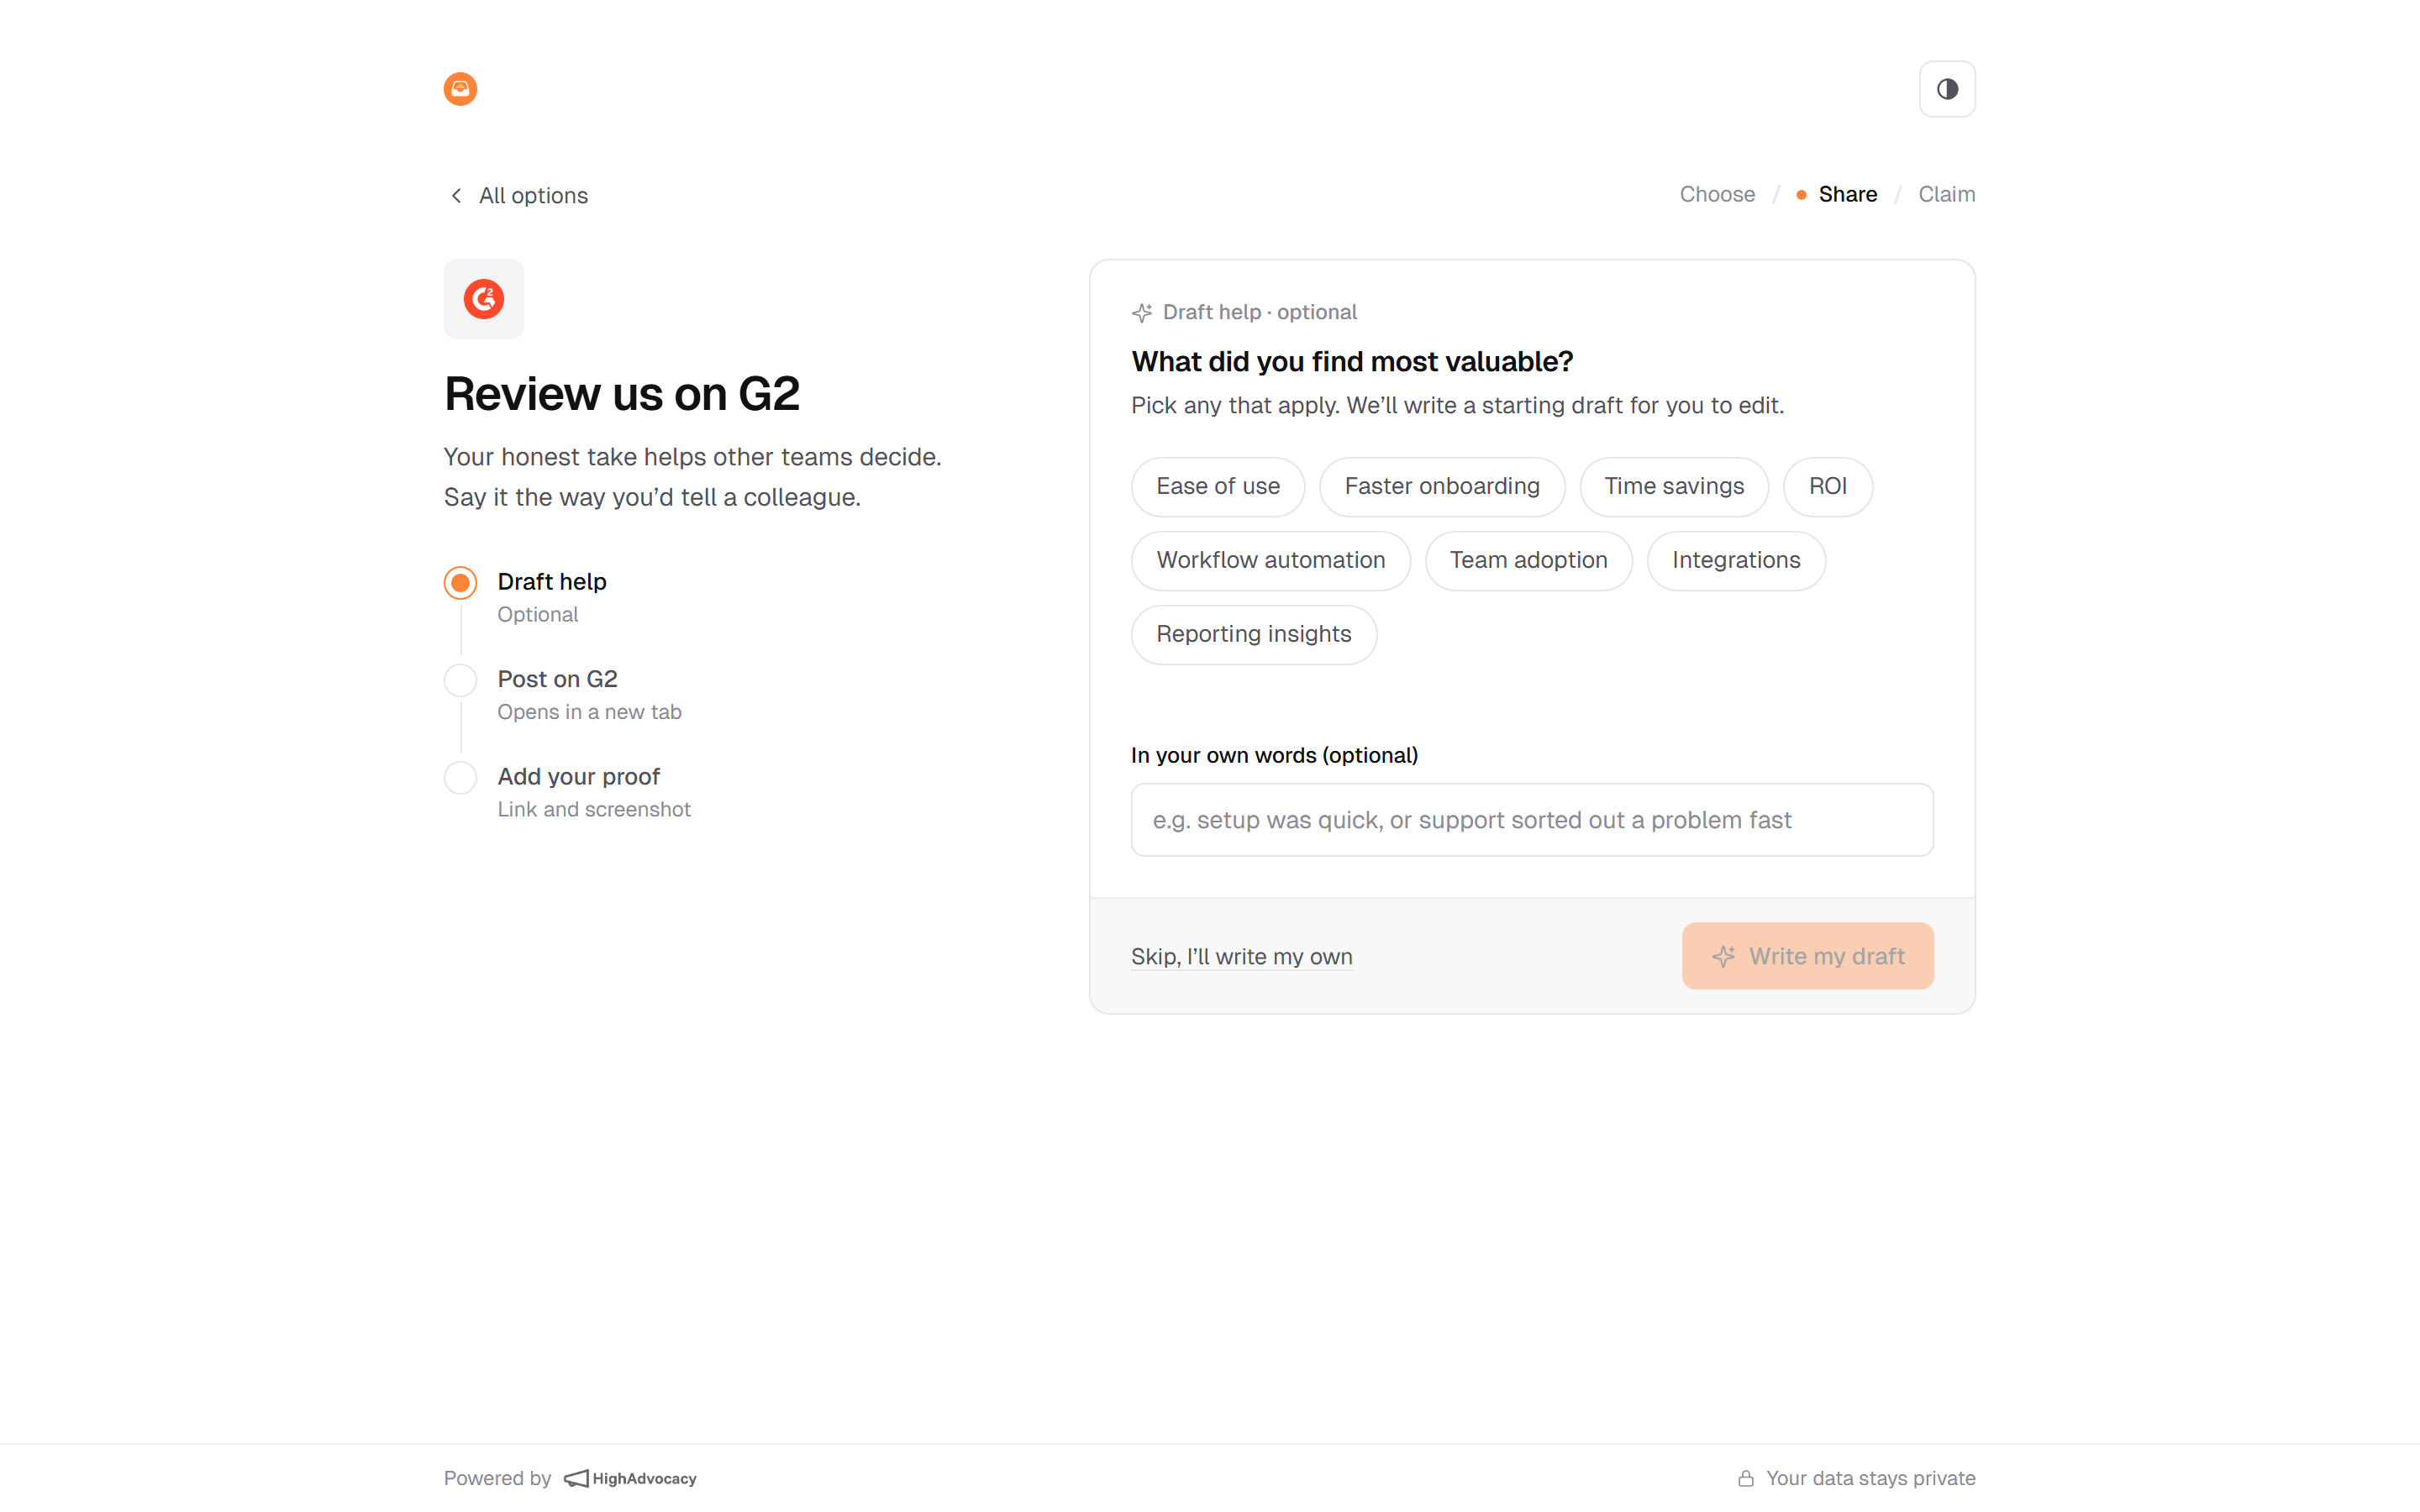
The left side lists the steps. The right side walks through them:
- Draft help (optional, only when you turned on Smart Draft for the ask): the customer picks any answers that apply, or types “In your own words”, and clicks Write my draft. They can edit the draft, click Write it again or Change answers, then Copy and open {platform} to paste it on the site. Skip, I’ll write my own jumps straight to the proof.
- Post on {platform}: the site opens in a new tab. After posting, the customer clicks I’ve posted it.
- Add your proof: a link to the review or post and a screenshot, then name and work email.
Engagements (like, comment, reshare, follow, upvote)
The task reads “Do these {N} on {platform}”. Each action has its own row with an Open post or Open page link and its own proof. A counter shows “N of N done”, and all actions are needed for the submission to count.
Video testimonial
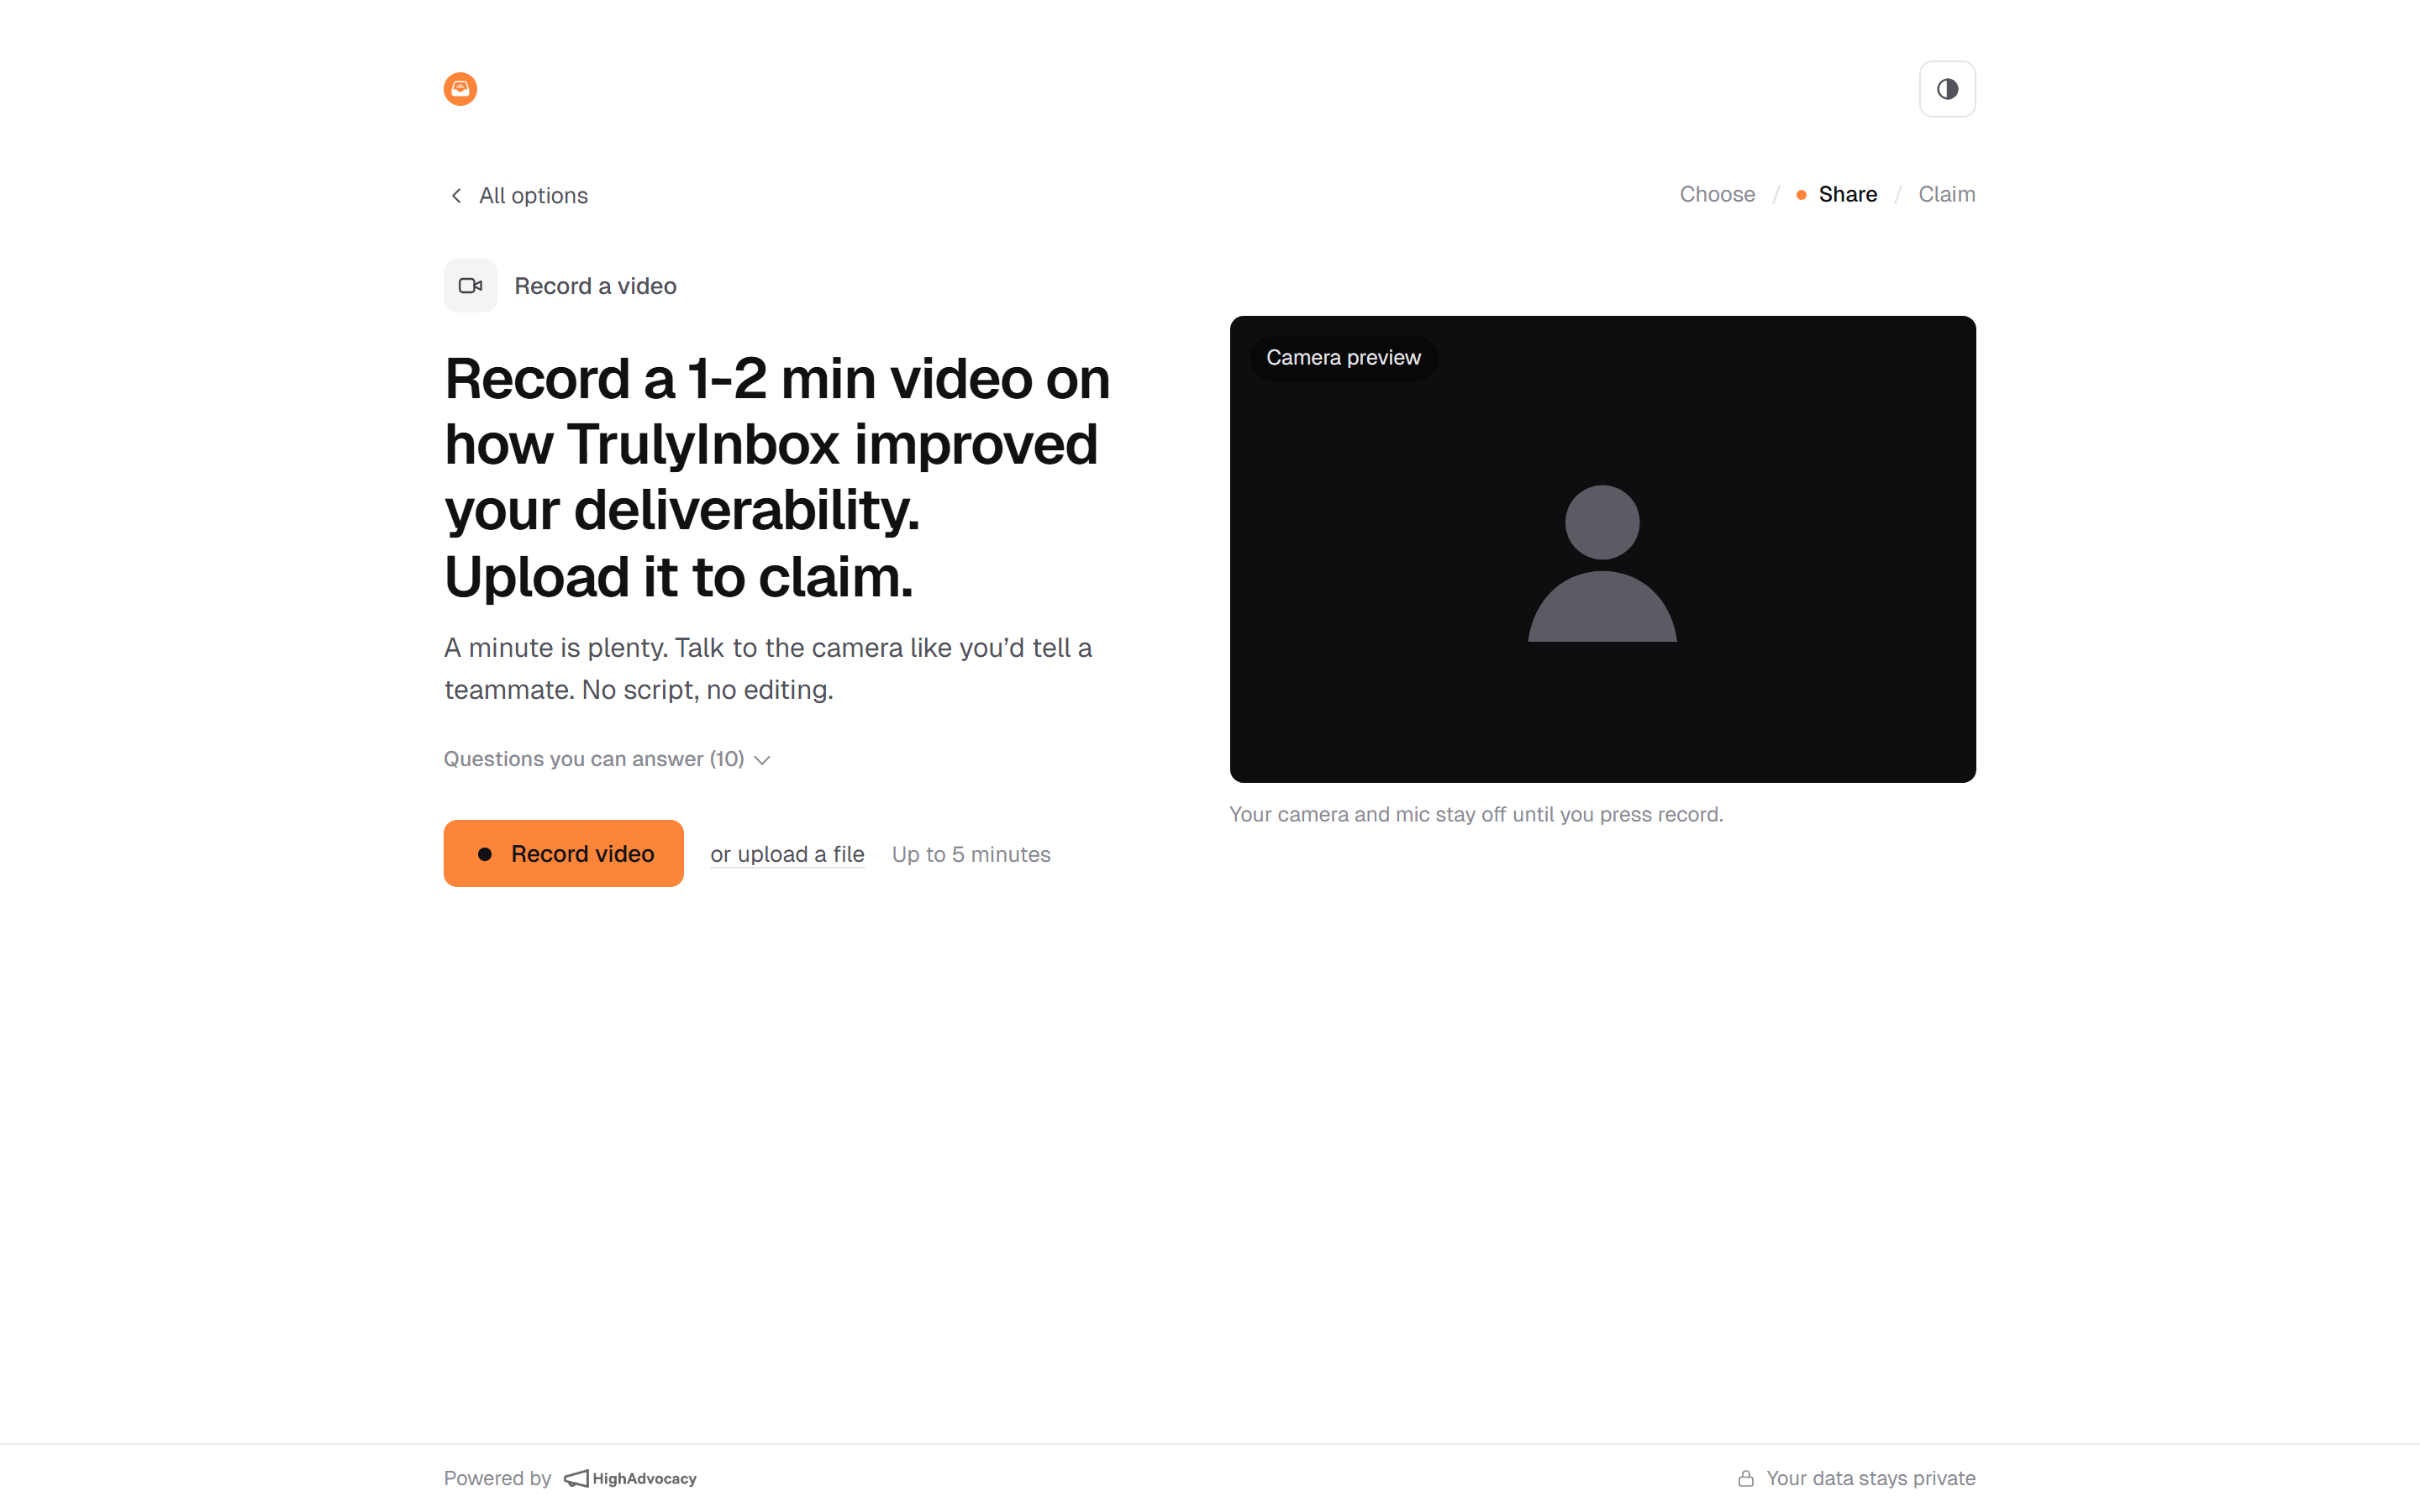
The customer sees your question as the headline, with “Questions you can answer” if you added detailed questions. They click Record video (camera and mic stay off until then) or or upload a file. The page shows the maximum length. While recording, your prompt and questions sit over the camera with a timer and Stop recording. Afterwards, “Looks good?” lets them watch it back and Record again, then add a star rating, their name and email, and send it.
Written testimonial
Your prompt and the “Try answering” questions sit on the left. On the right, the customer picks a rating (“How was your experience?”, from Poor to Excellent), writes in “What would you tell a teammate?” with a character counter, and adds their name and email. The text is saved on their device as they type, so if they leave and come back they see “Welcome back. We kept your draft.”
Both testimonial tasks include a checkbox: “{Your company} can feature this on its website and marketing, with my name.” It starts ticked, and the customer must leave it ticked to submit.
For the exact proof rules and limits on each task, see What proof customers send.
3. Thank-you screen
After Submit, the customer sees “Thanks, {first name}. Your {review, post, video or testimonial} is in.” If the ask has a reward, it adds “You get {reward}. {Your company} sends it to you directly.” Otherwise it says “Thank you for your time. It really helps.”
If other options are left, “Up for another?” lists them so the customer can do one more right away.
The customer also gets emails when the submission is received, approved or rejected. You can edit these in Customer emails.
When the page isn’t taking responses
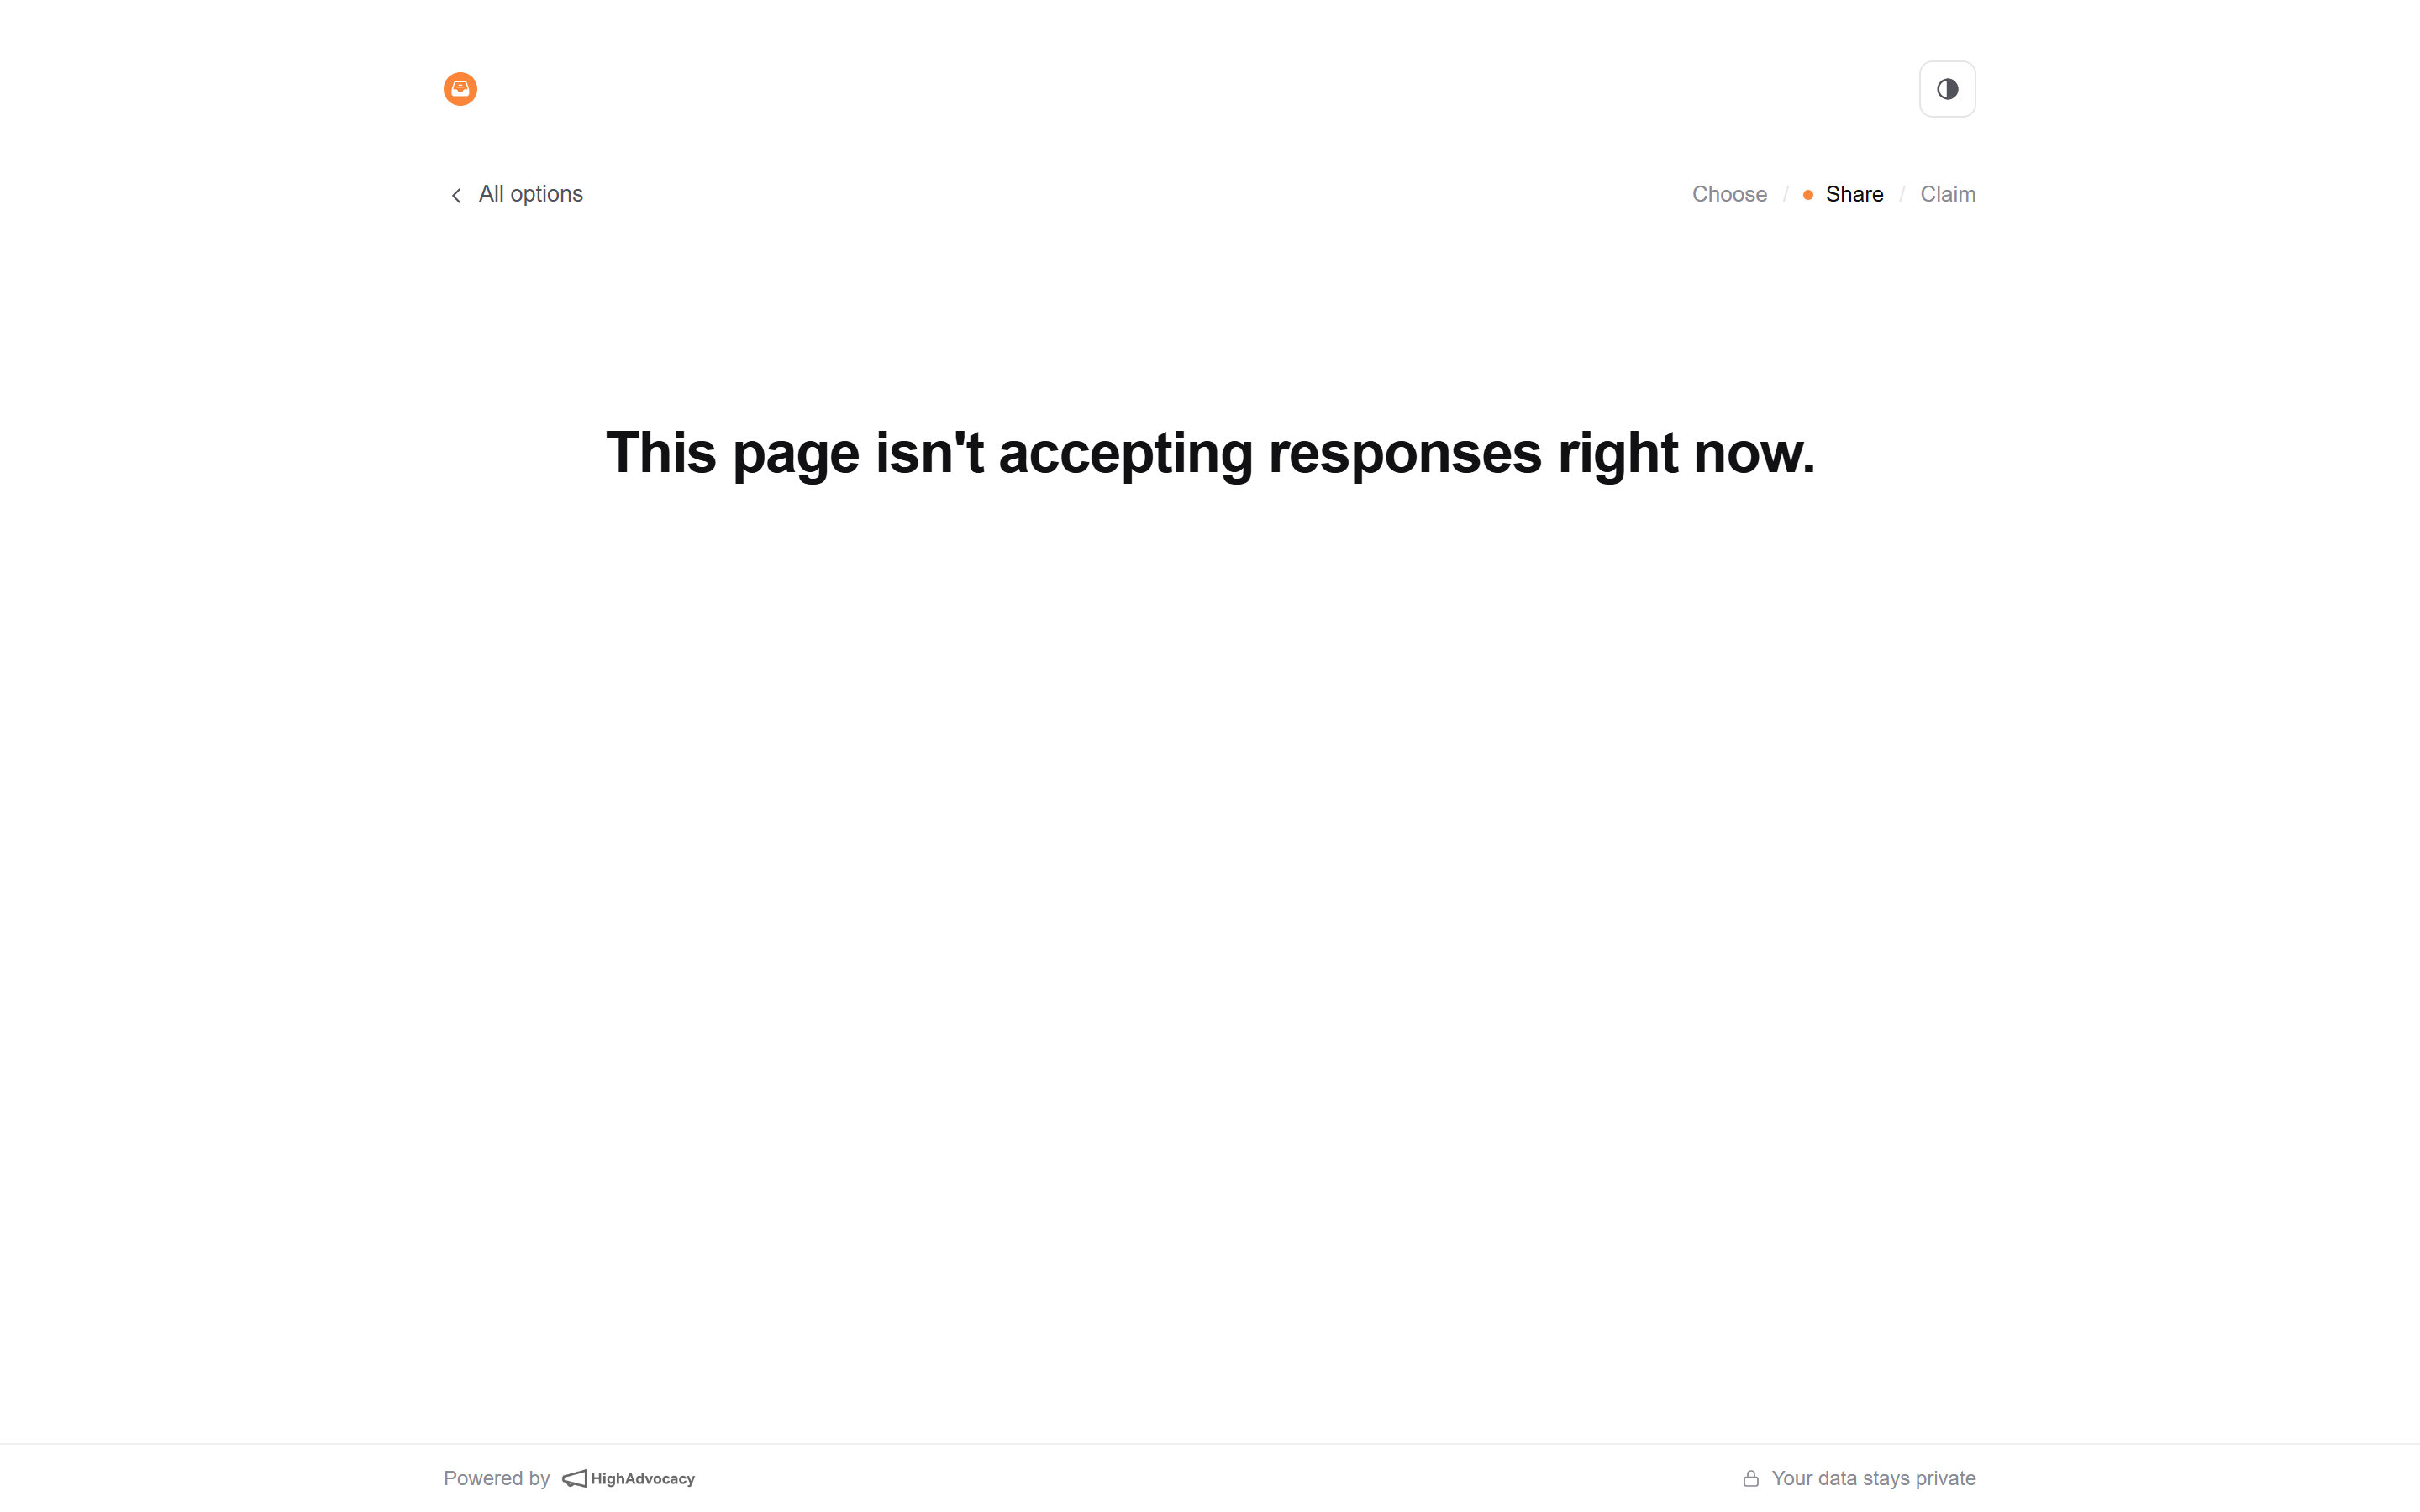
If the campaign is paused or not live yet, or its webpage channel is off, the link still opens and shows the options. When the customer picks one, they see “This page isn’t accepting responses right now.” with a way back to the list. A deleted campaign’s link shows “Campaign not found”.
If a customer tries an option they already completed, they see “You’ve already submitted this option.”
What the widget looks like
The widget shows the same asks and rewards inside your product. It uses its own headline and subtext from the Design tab, and a Choose / Write / Claim strip.
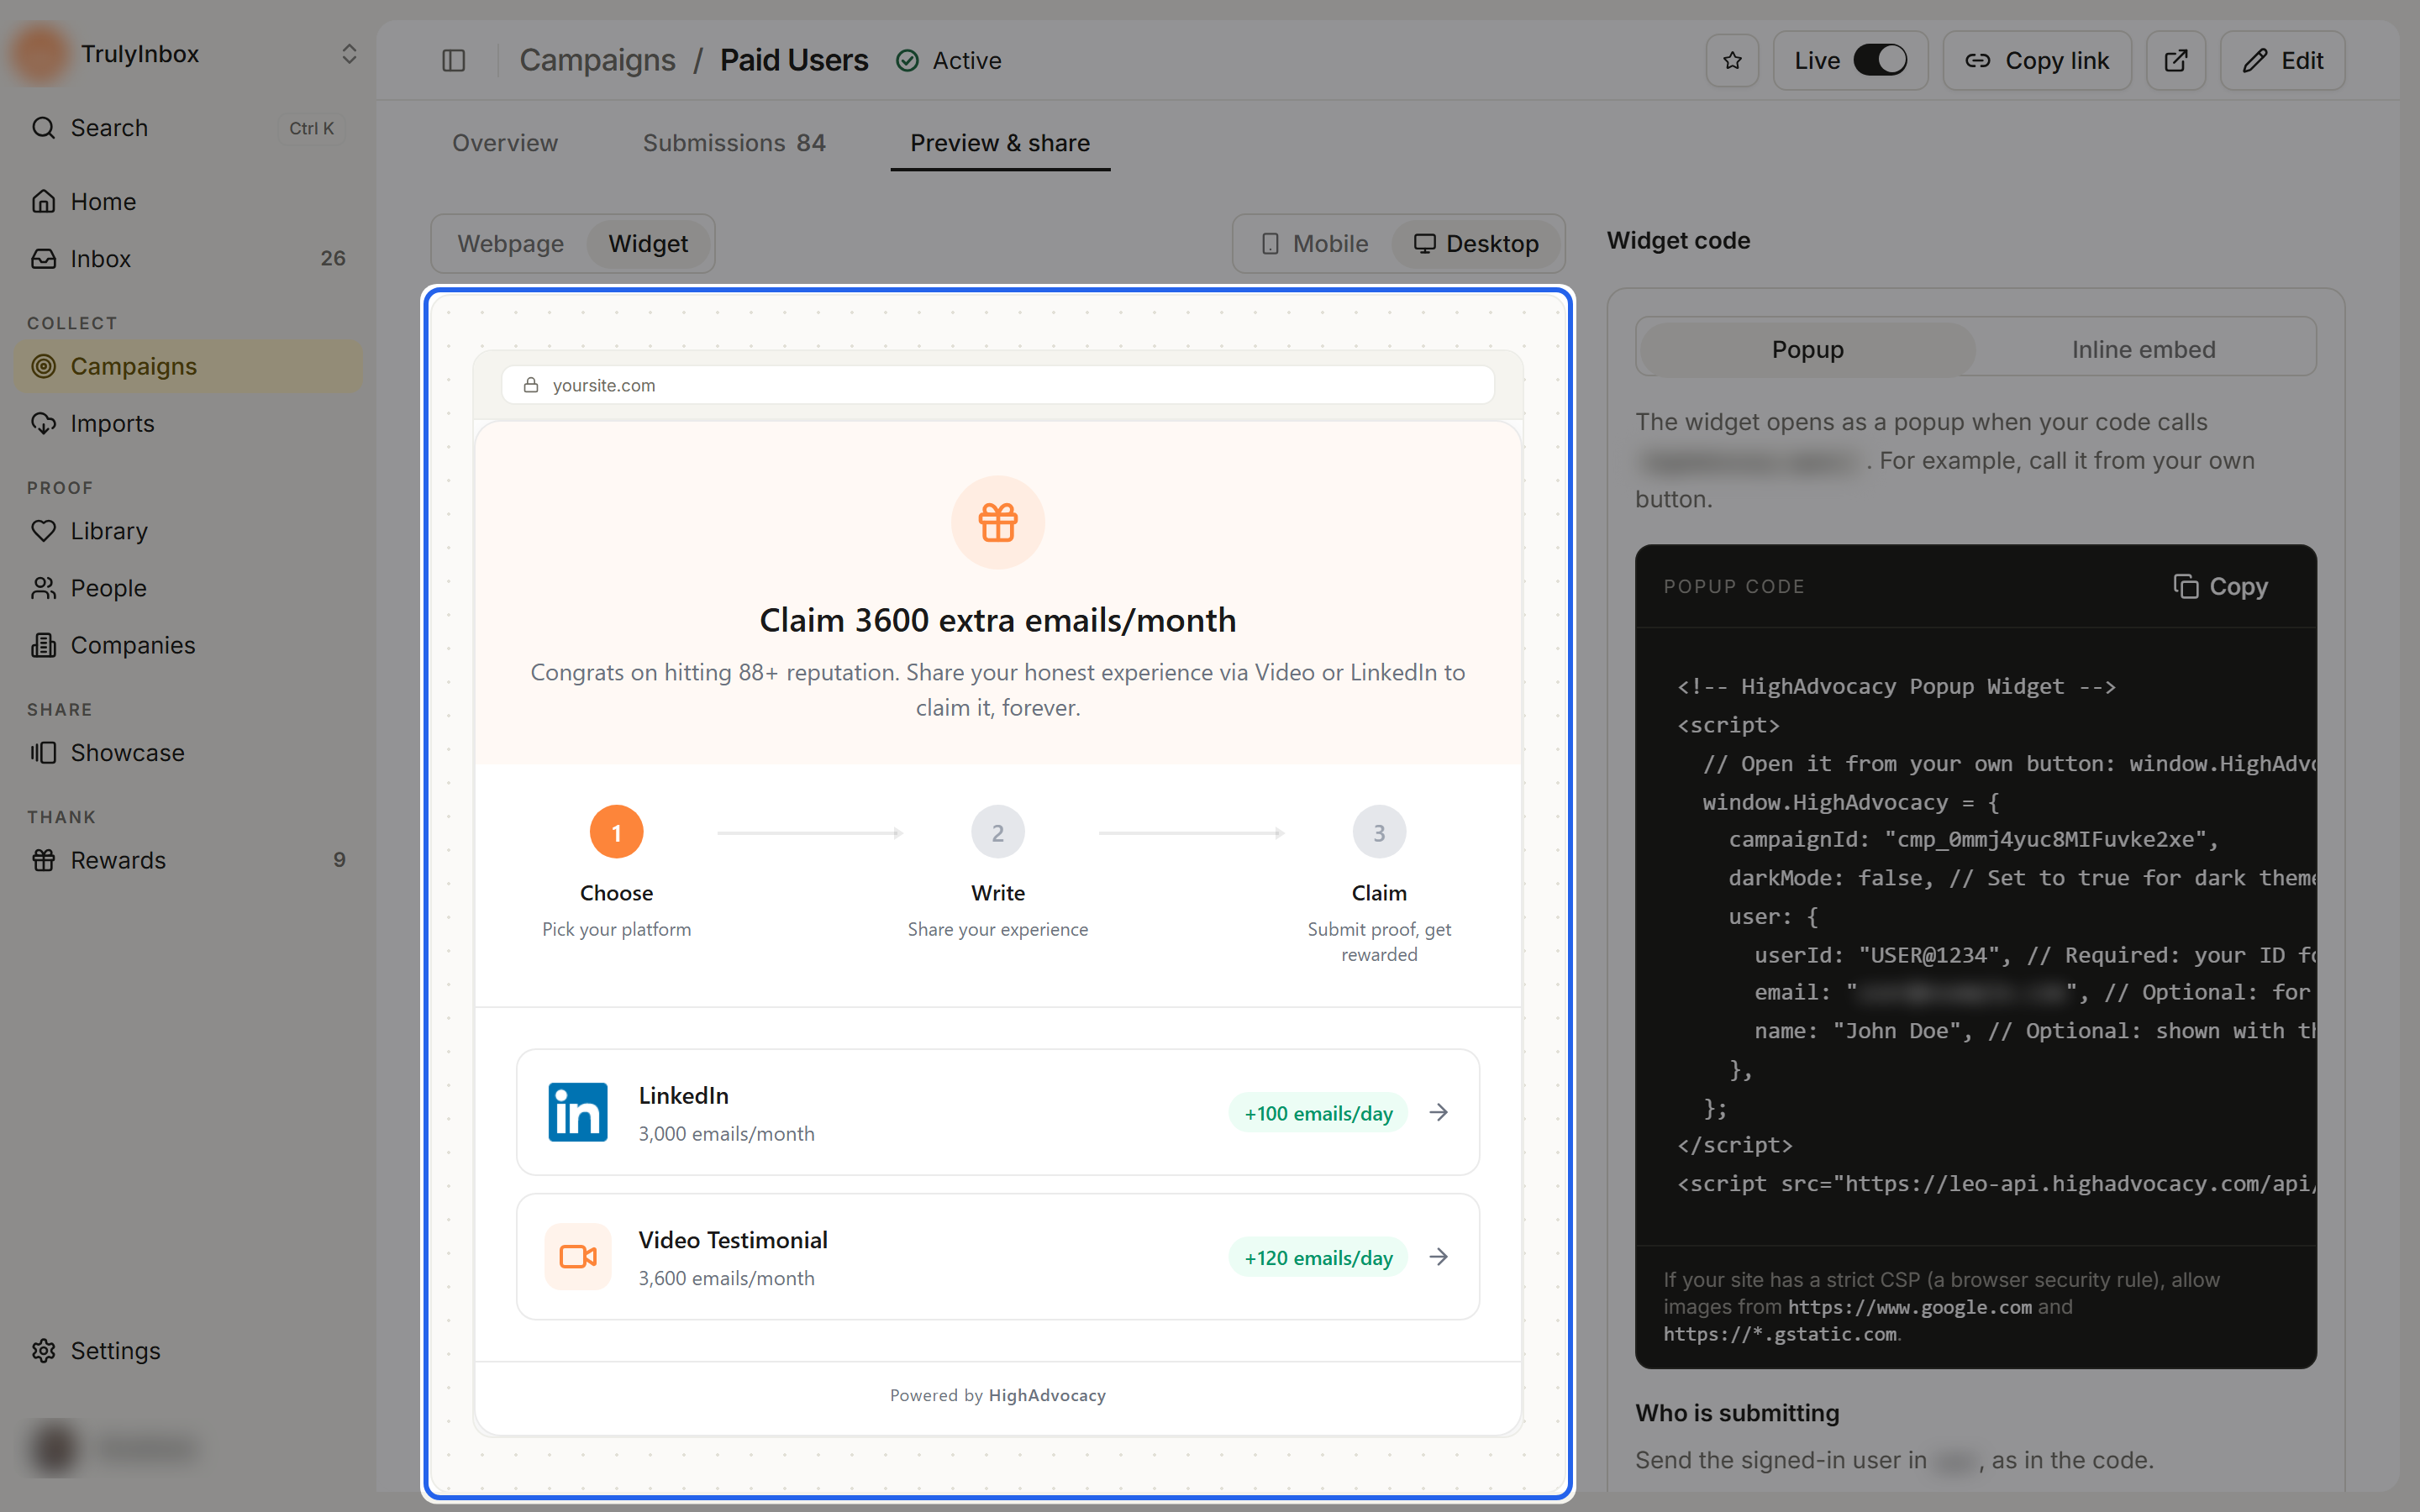
In the widget, customers do not type their name and email. The widget takes them from the signed-in user your code passes in. See Share your campaign.